With the TNG car siding all stained and ready to apply, it is time to get it affix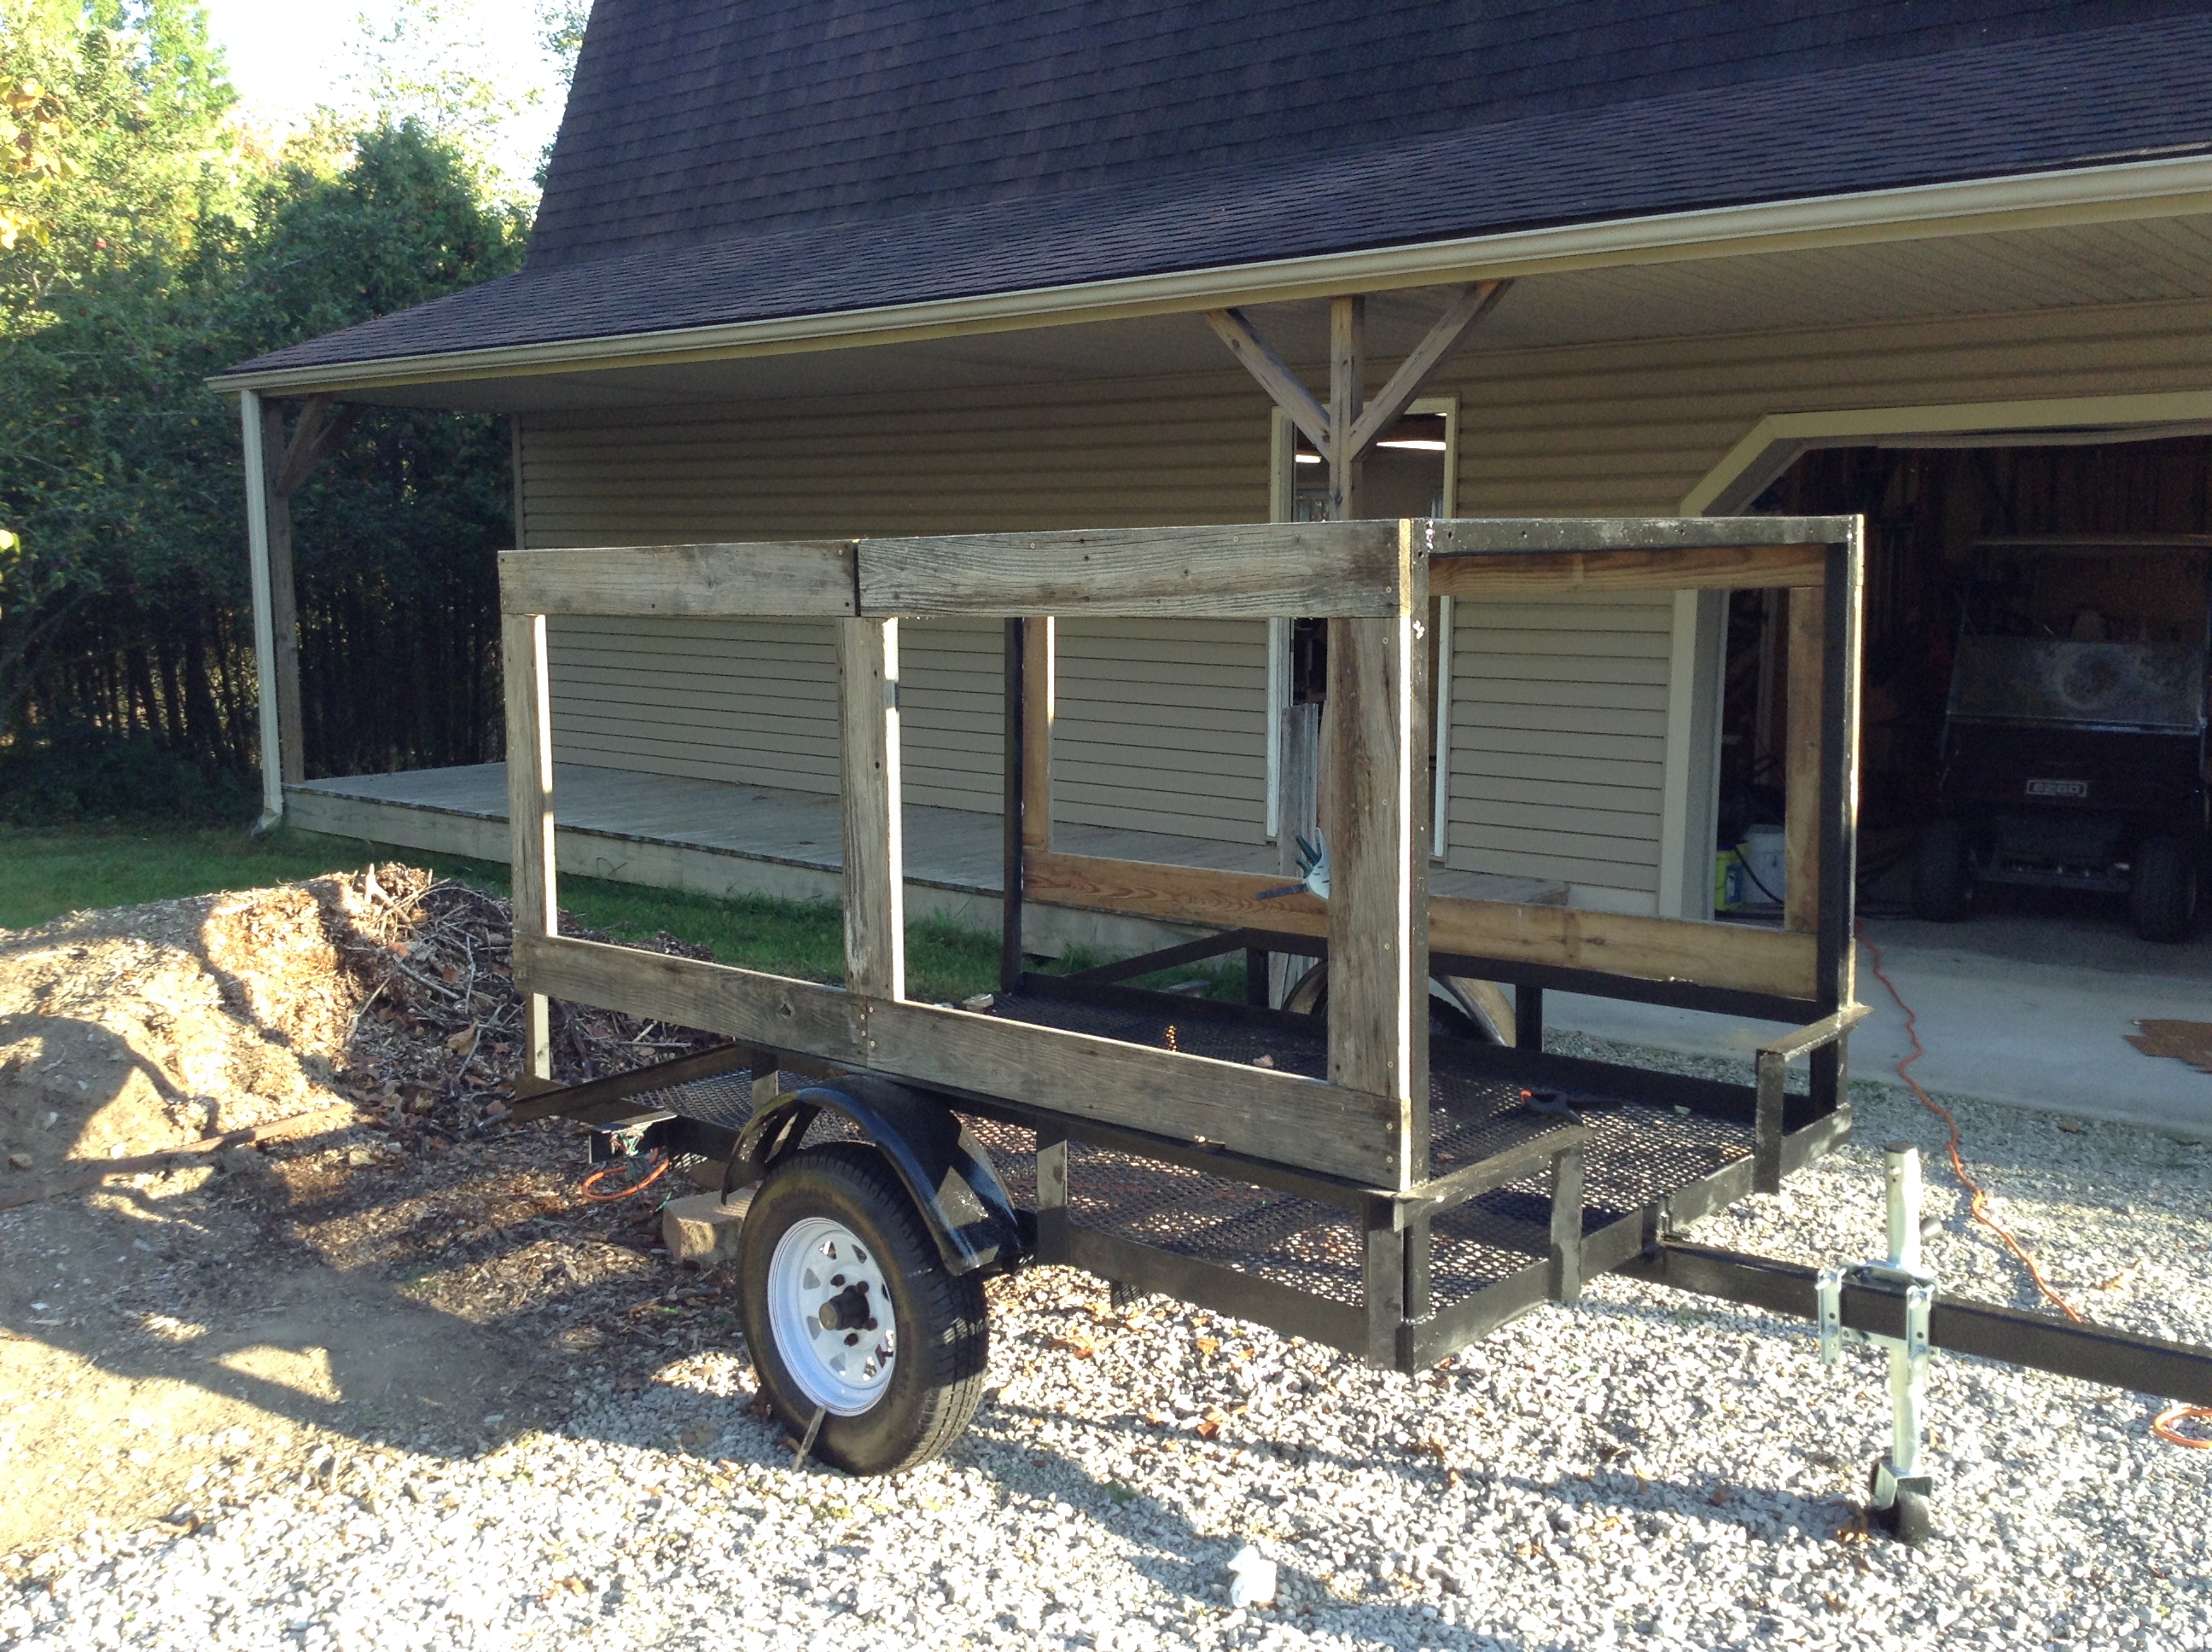 ed to the trailer frame.
This phase of the project presented some interesting challenges.
First, the frame is neither straight nor consistent in tube size and material. This trailer had lived a hard life before I purchased it, and it was very evident. The upper rails were nowhere near square or plumb. Even after trying to square them up with ratchet straps and a come-along, the box was better but far from perfect. This issue would become significantly more evident when it was time to build and attach the rear doors, but we’ll save that story for another post.
Accepting the frame for what it is, we still needed some way to attach the thin and rather flexible car siding to the metal frame in a manner that would keep it attached when running at highway speeds, and in the wind and rain. The last thing we would need is for the siding to go whipping off while cruising down the road. That would be BAD news!!
Taking safety into account, we also wanted the appearance to be as clean and simple as possible, letting the clean lines, natural texture and glowing color of the siding shine in all it’s glory.
All that said, we knew that whatever solution we chose, we needed to take weight, cost, and easy of installation into account.
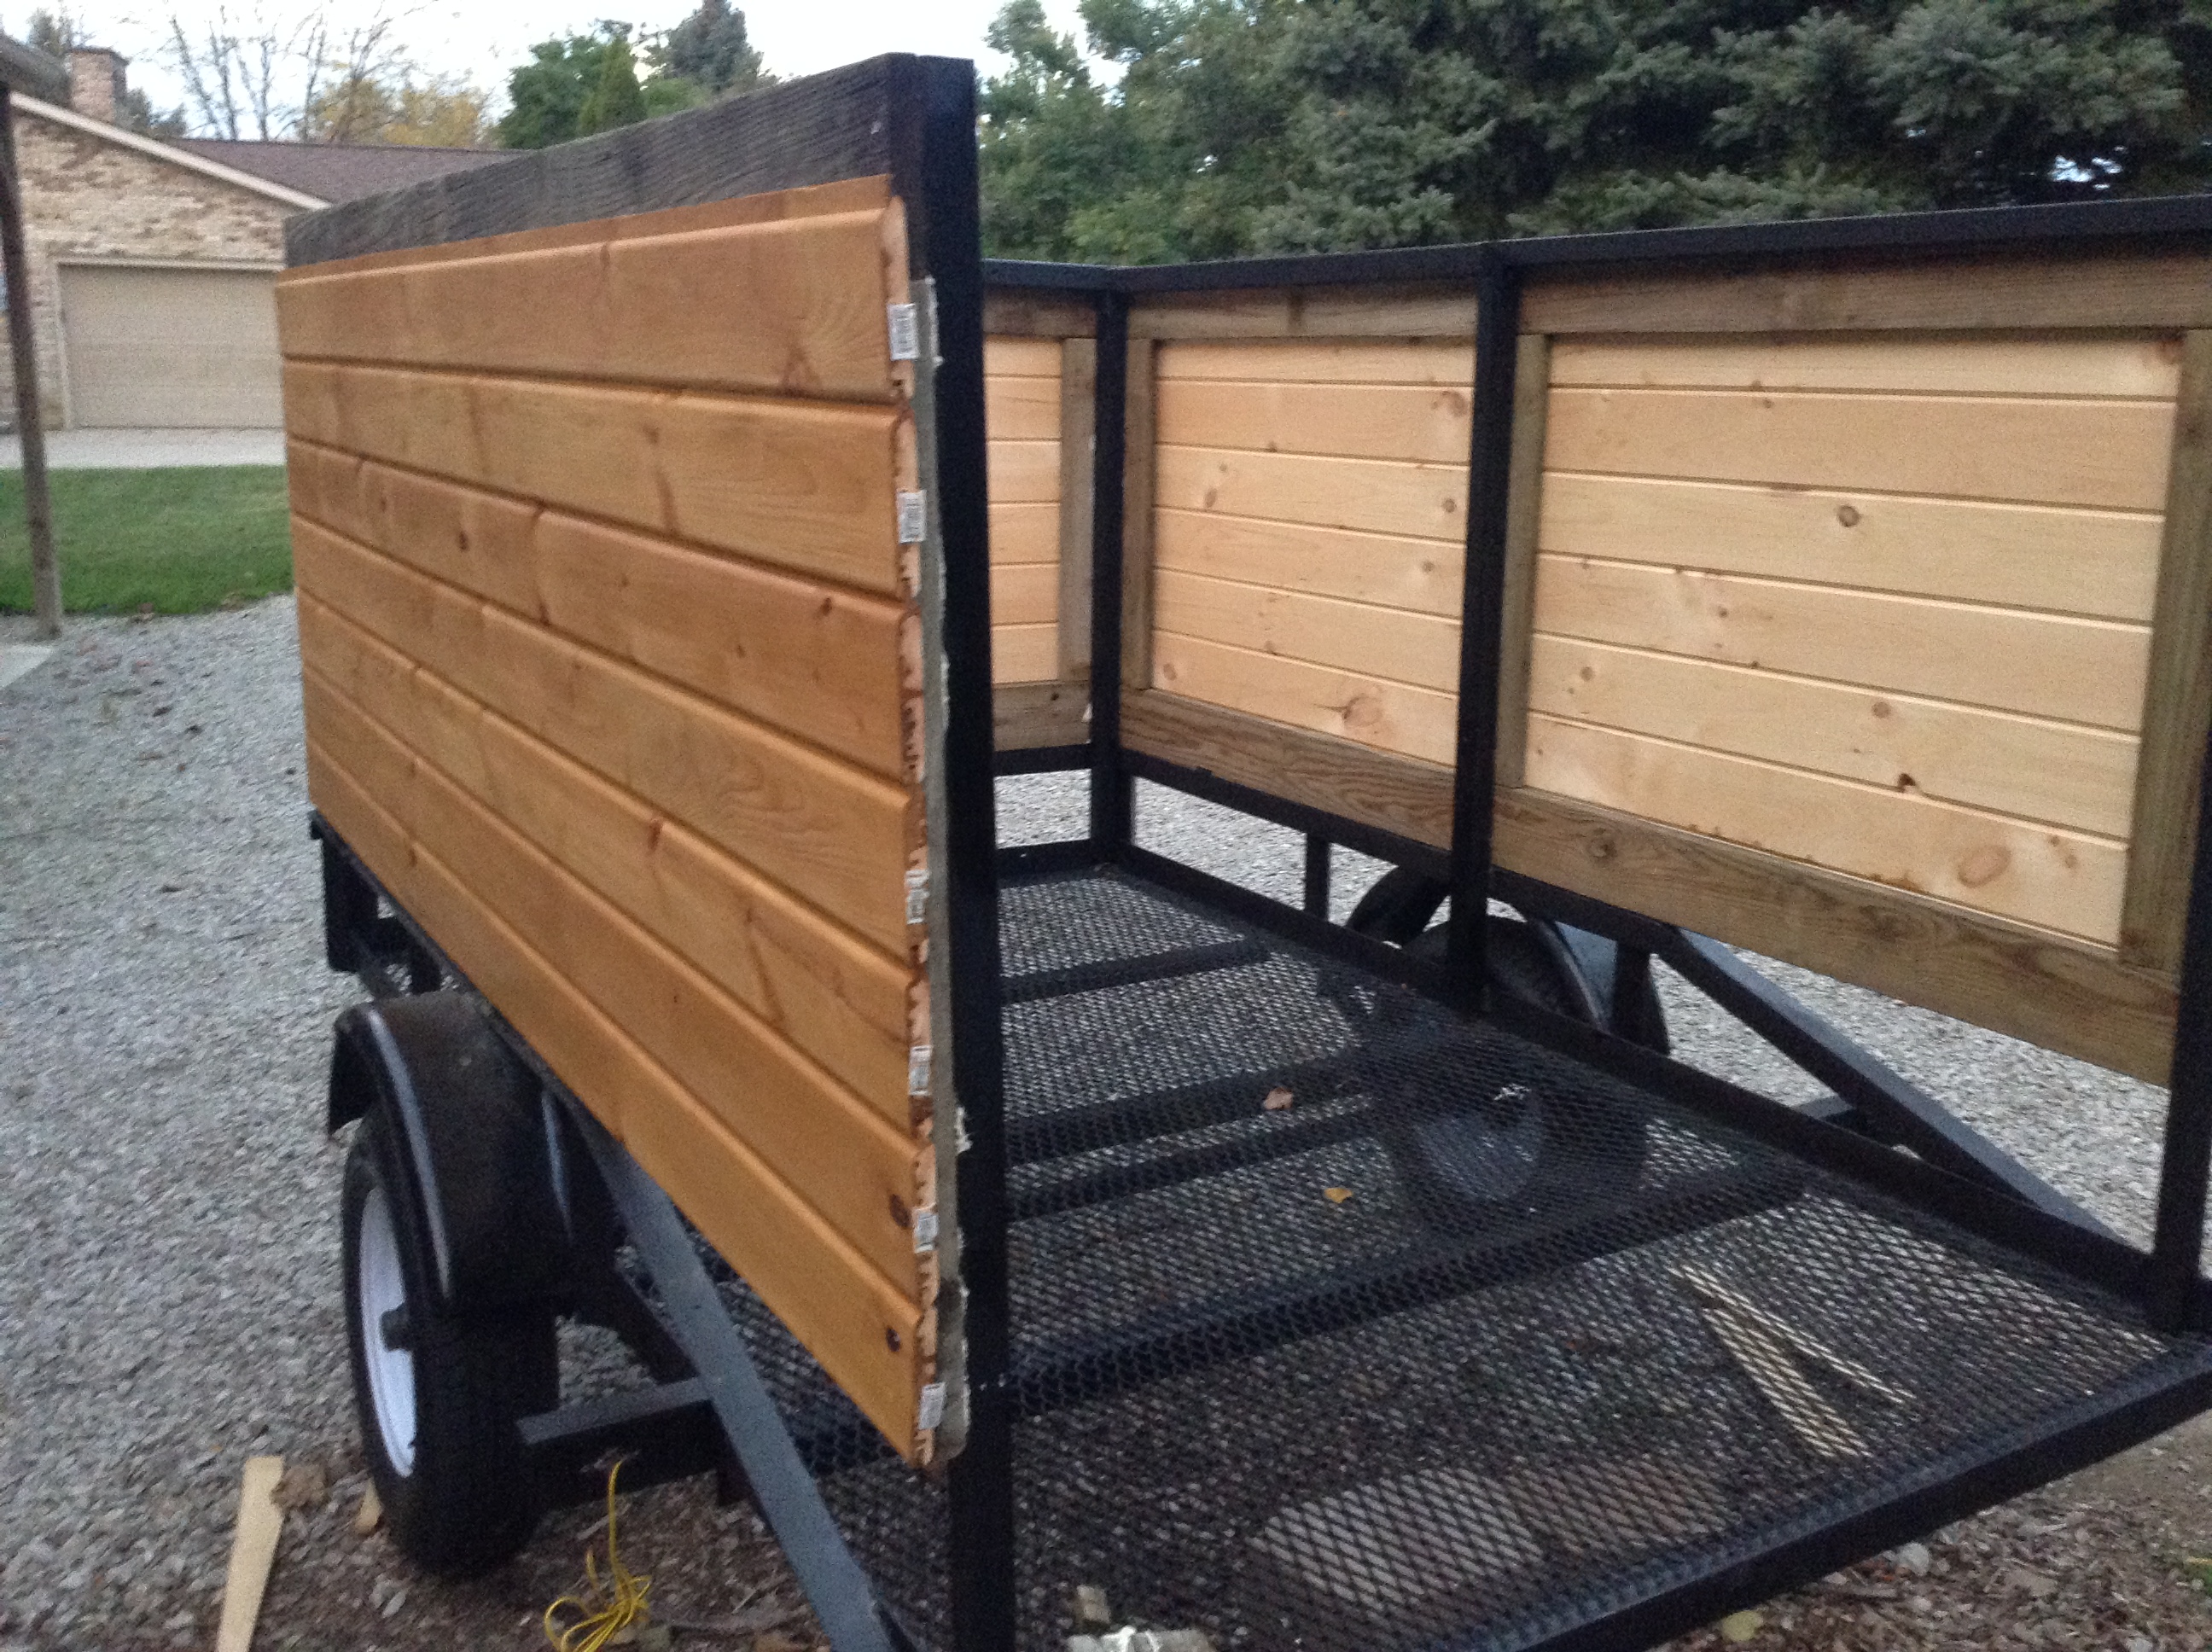
After serious consideration, we decided to use some old pressure treated dock wood (from a previous dock rebuild project) to serve as firing strips for the car siding.
The 5/4 x 6 inch decking was attached with construction adhesive, clamped in place and drilled and screwed (with stainless screws) to the frame. This resulted in a wide wooden base to which the car siding could be glued and nailed.
Between the tongue and groove joints, the construction adhesive, and number of hidden brads, the car siding was firmly attached to the firing strips and were going nowhere!
Paying careful attention to the seams, we made sure that the front board overlapped past the side boards, so the wind didn’t get an advantage or opportunity to try and peal the front of sides away from th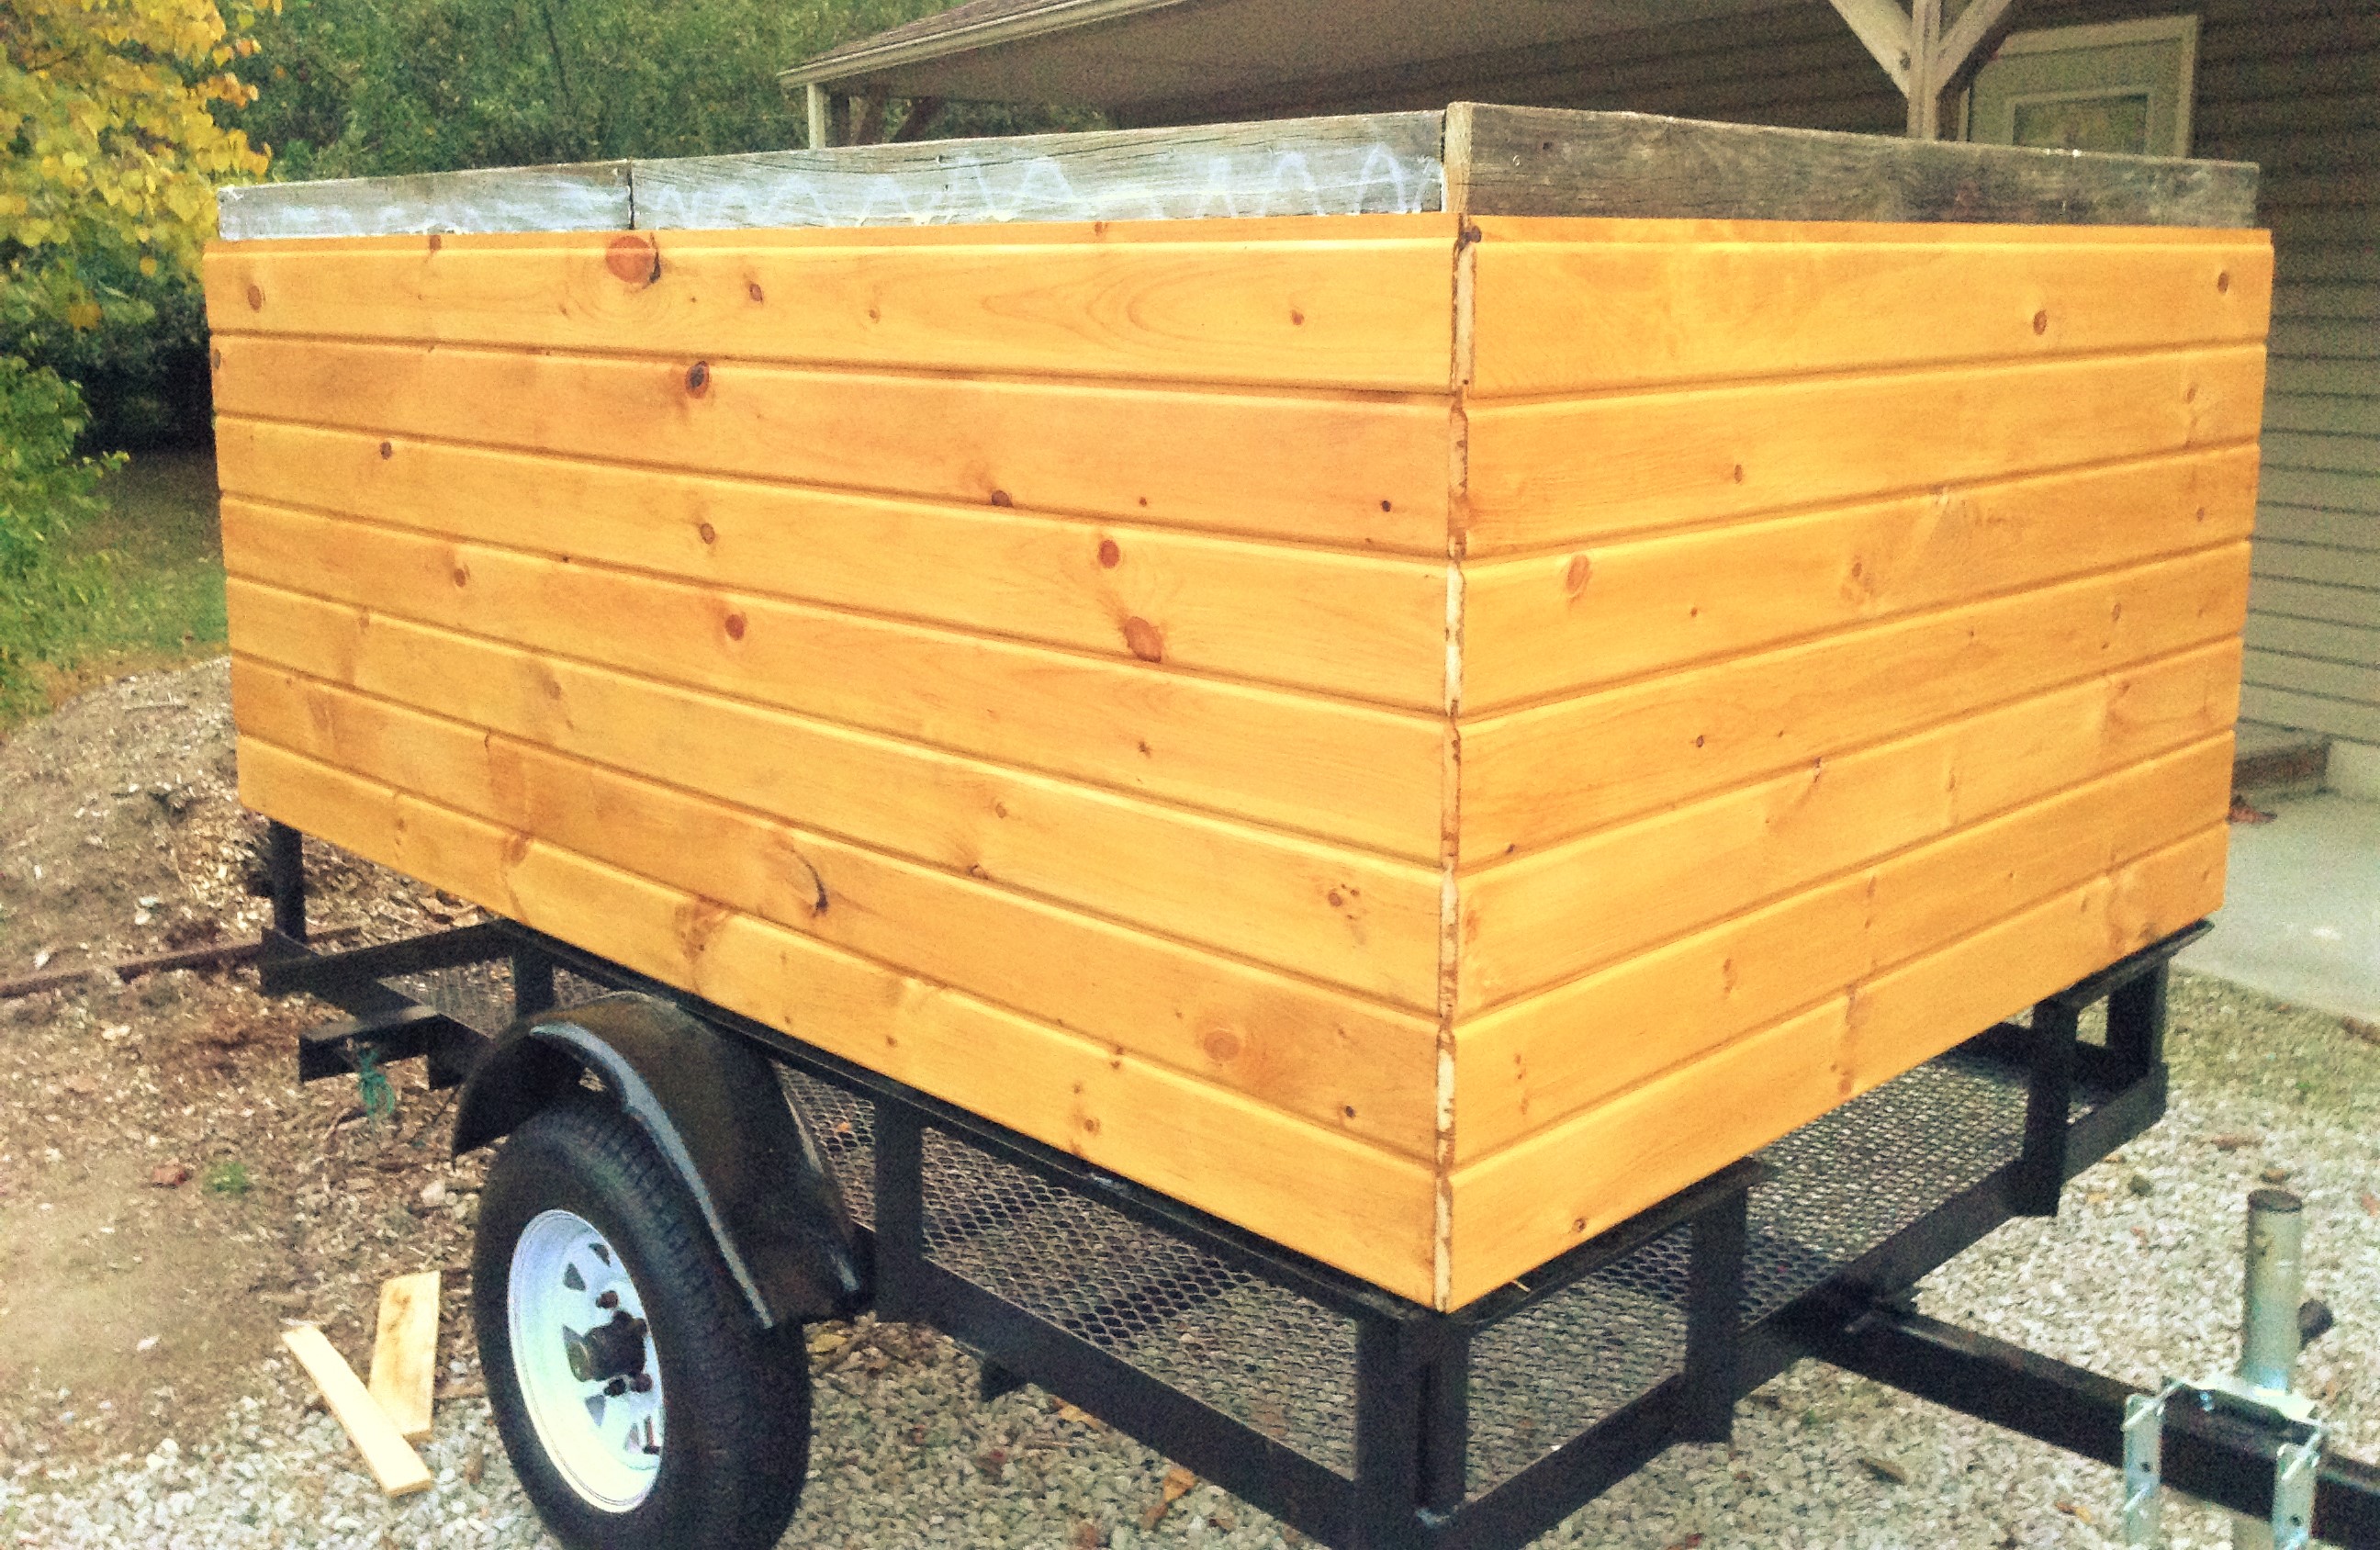 eir firing strips.
Once we had the technique figured out, and were comfortable that everything would hold as expected, we were off to the races- wrapping the naked frame in glowing pre-stained car siding!
By the time we were done it was well after dark- we wouldn’t be able to appreciate the full affect until the next morning. But wow, the wait was well worth it- it looked beautiful!
With the siding well under way, the next step in this project will be giving it a floor and a roof! Stay tuned- for the next installment in this series, coming very soon!
If you like this project, or any of our posts, please consider subscribing so we can notify you when the next post is ready… Thanks, Steve.