After the frame was thoroughly wire wheeled top and bottom, the next step was to apply a coat of good quality paint. The original plan was to spray the frame with a good quality rust inhibitor style paint, most likely with a sprayed on primer coat first, but due to cost, time, and poss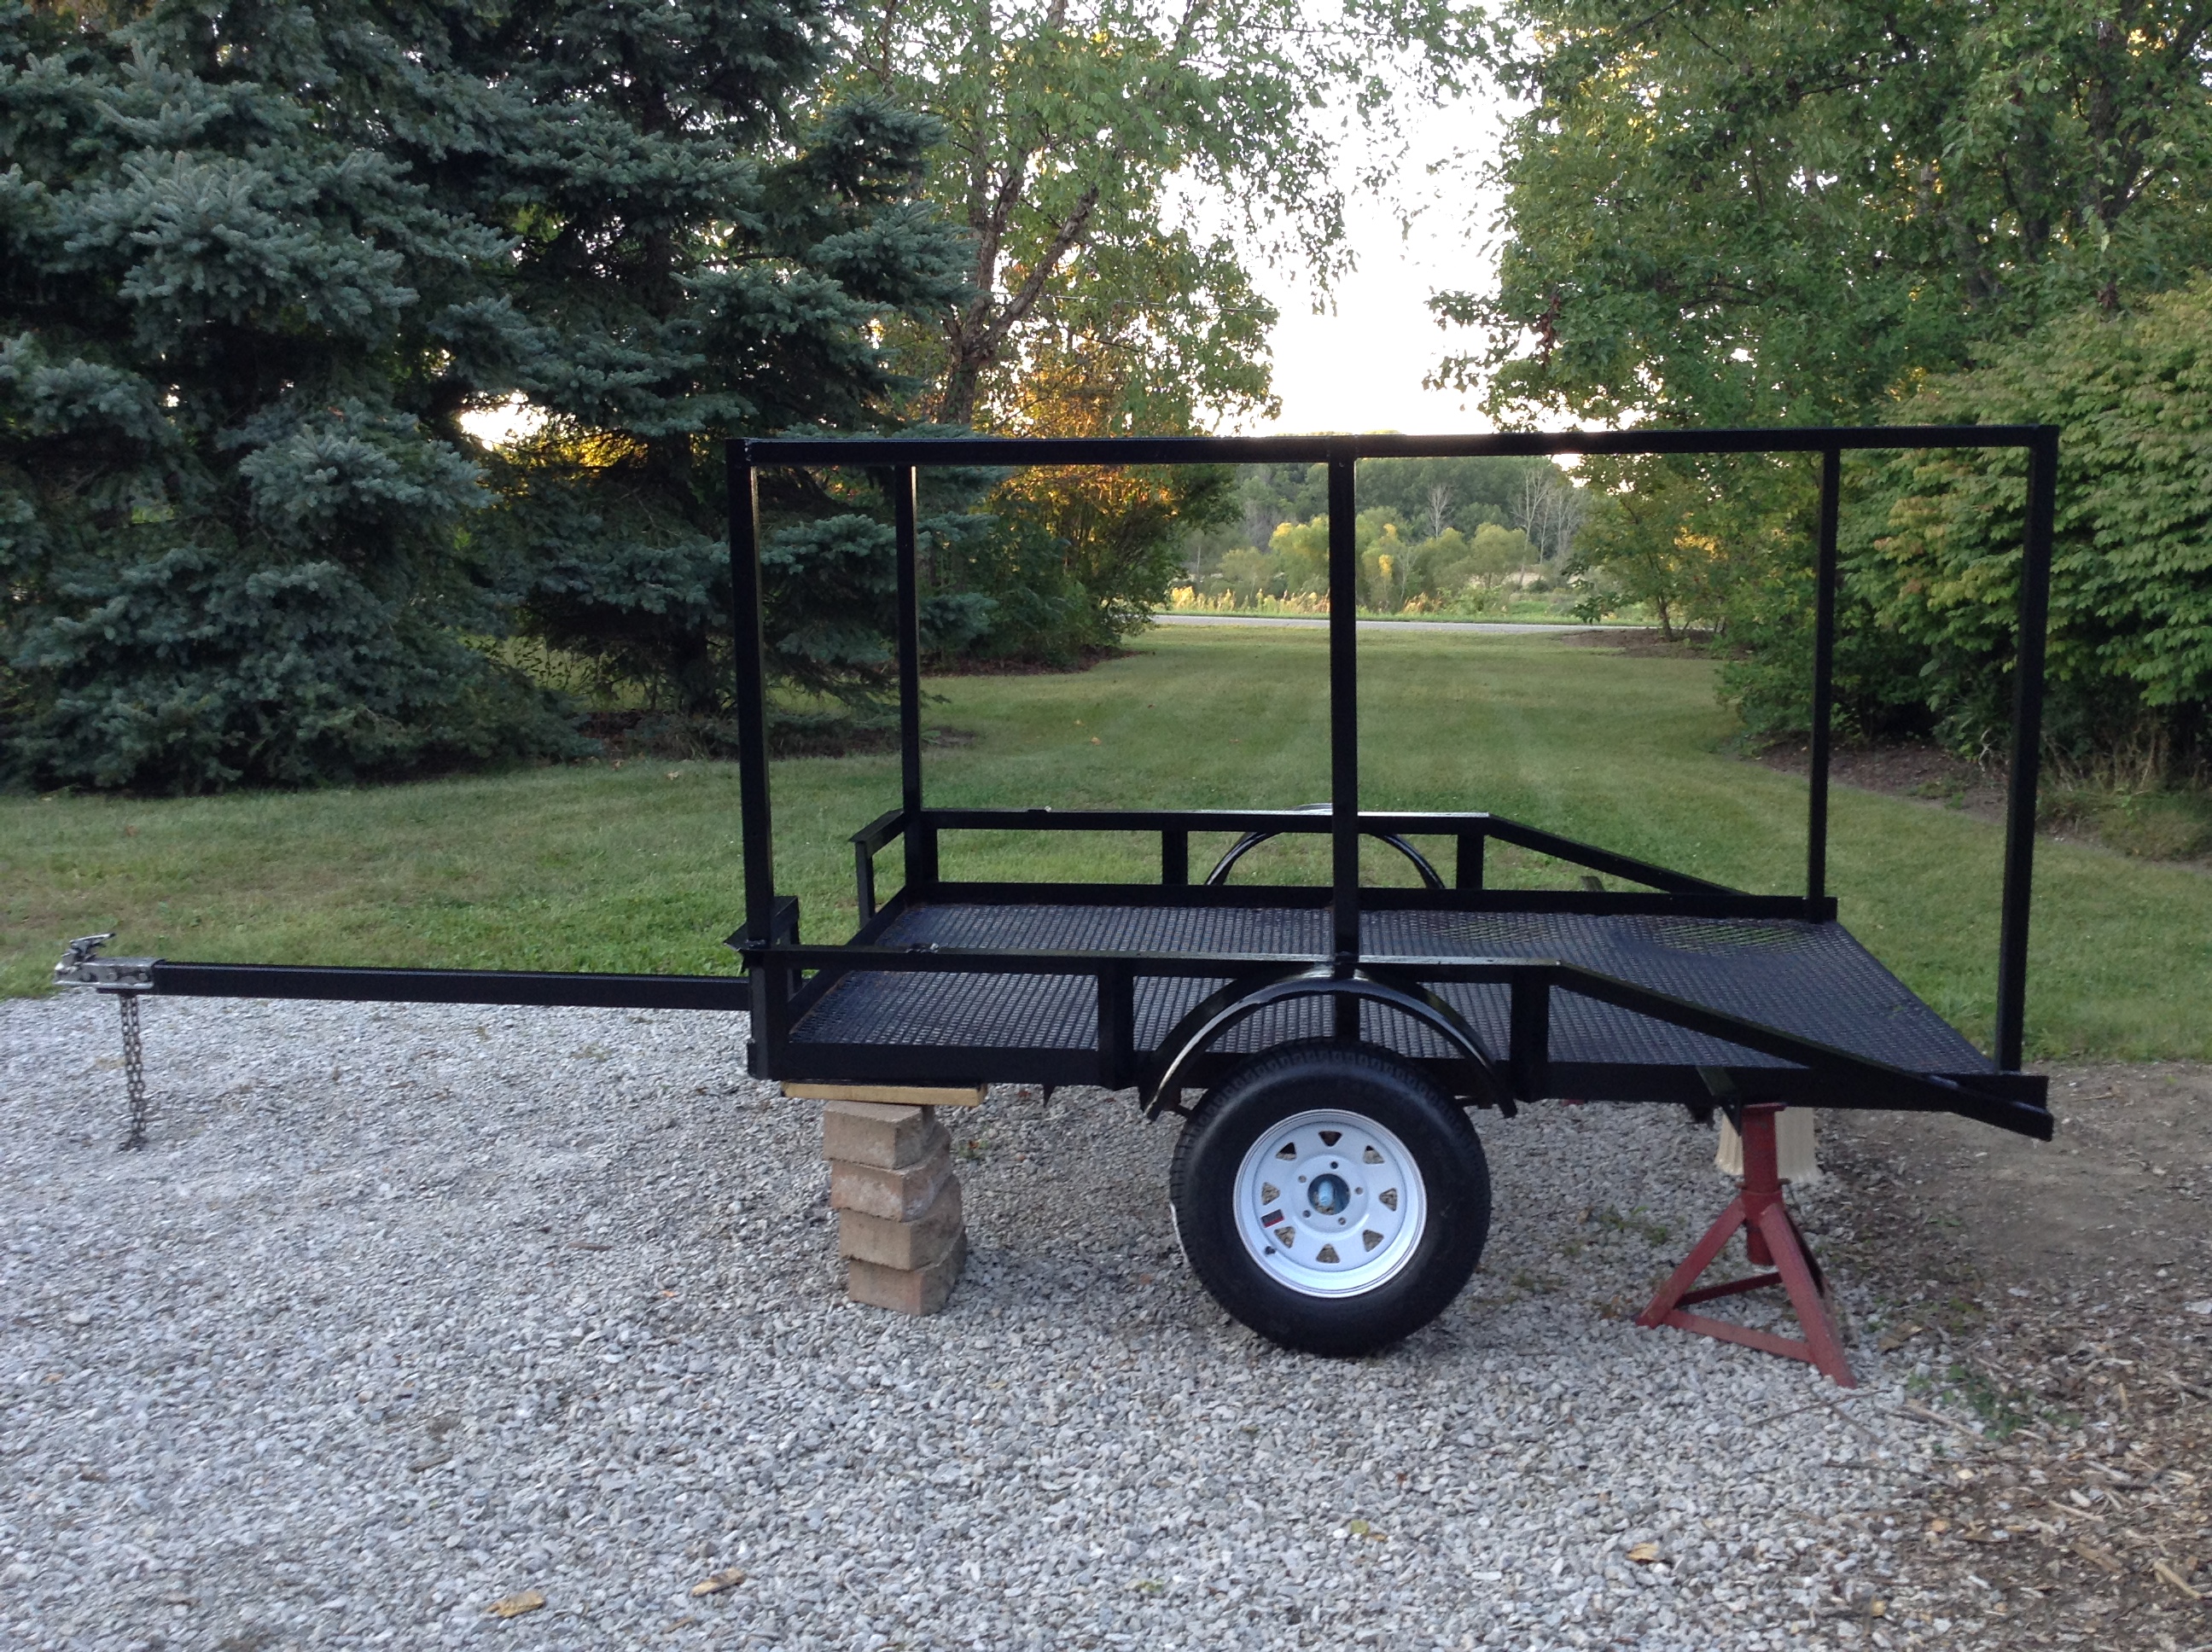 ible mess, I opted to go with a gallon of Rustoleum Professional grade oil-based metal paint.
Using a set of disposable 4 inch foam rollers and some disposable paint brushes the Rustoleum went on thick and quick- even on the metal grate floor decking.
The keys to keeping the Rustoleum paint glossy was keeping it stirred and keeping the trailer dry, at least until the paint starts to dry and the glossy coat starts to firm up.
I expected to need a 2nd coat, but this wasn’t necessary. The only places I touched up were done for cosmetic reasons- the paint looked flat or had some water spots, caused by dew on the un-cured paint.
This pictures shows the trailer, up on blocks, with the new (larger 13 inch) wheels placed over the hub, to see how it would look.
What a difference a quick coat of paint and new set of wheels makes- don’t you agree?
Next up- prepping the siding…


