With the garden restoration project complete, I wanted to try to continue the heirloom strain of garlic that we inherited in our fallow mess of a garden.

Last fall, after the small but healthy wild garlic died back, I harvested several very small cloves to plant for the next season (the 2016 harvest).
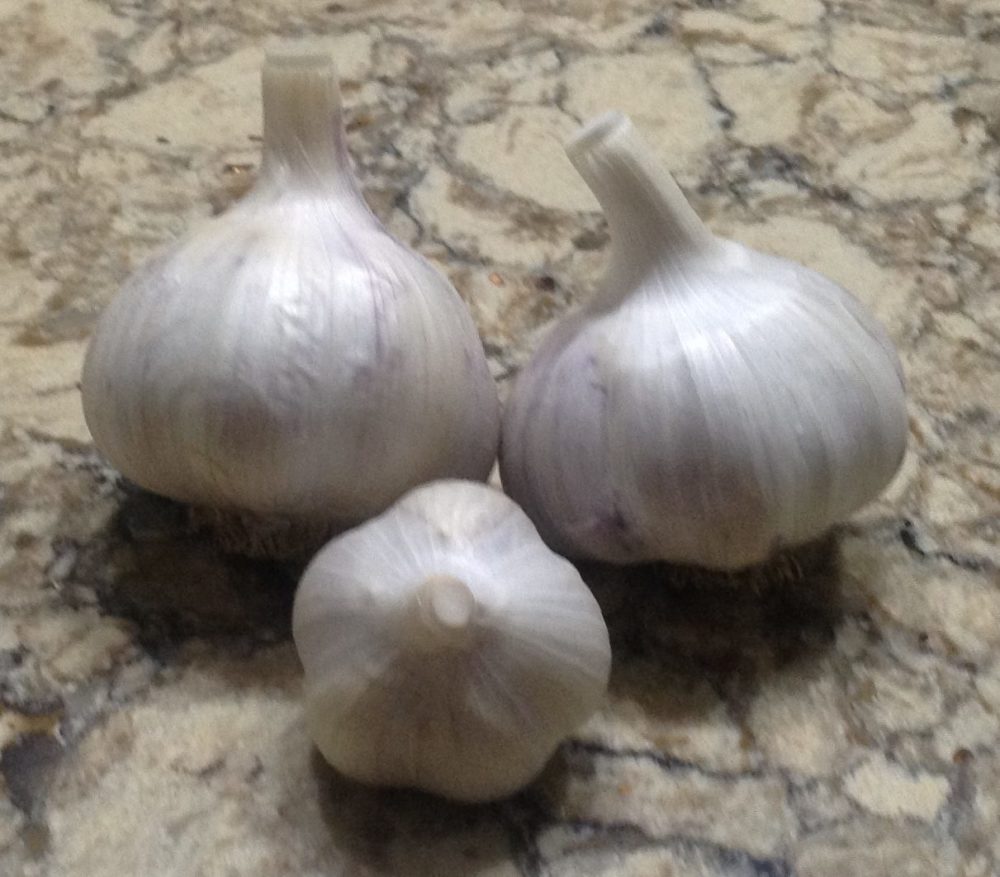
In addition to our fallow garlic, I also had received three large, dried garlic plants (still on the stem) that my brother harvested from his farm over in NE Ohio.
Fall Planting Garlic
In late November, after the garden had already been put to rest for the winter I planted and marked three rows of garlic
The divided garlic cloves were planted, pointed side up, about 3-4 inches deep, about 4-6 inches apart.
To prepare the garlic for planting I broke the head of garlic into their individual cloves.
After planting, give them a good watering to settle the soil and remove any larger air pockets around the cloves.
The garlic was planted on November 20, 2015. A little later than I would have preferred, late is better than never! With most things in life- you do what you can, with what you have to work with. To help insulate and protect the garlic from the cold and dry winter winds and temperatures I applied a thick layer of leaf mulch over the area.
The garlic started to grow before the cold, frozen winter set in. Freezing back is not an issue- it helps the garlic get set and well position for the next growing season.
Spring Emergence
The following spring the garlic bounced back with a vigor! Garlic is one of the first plants to emerge in the springtime- this year was no different. They grew tall and strong all summer long, only getting a little extra water when their neighboring plants got theirs. There was no special care or attention given to the garlic plants.
Scapes
In early June the curly garlic scapes made their appearance. Garlic scapes are the stems that emerge from the center on hard neck varieties of garlic and hold the flower, which when pollinated creates the garlic seed.
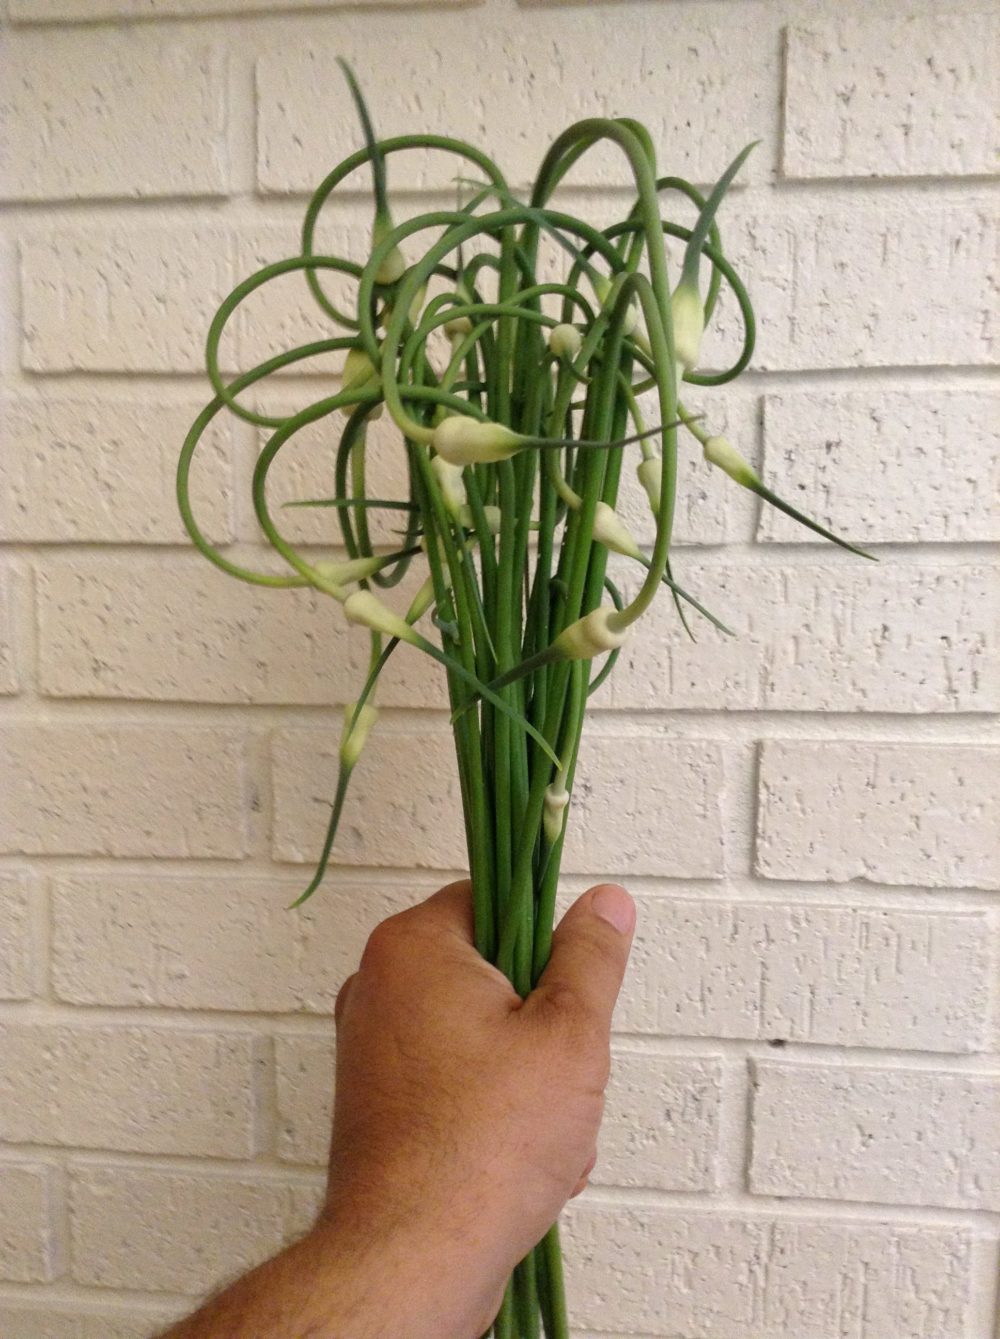
The scapes were simply clipped off- near their base where they emerged from the regular leaves.
Scapes do not need to be removed, but if left, they will draw energy and nutrients away from the bulb, so they can feed and support the flower and seed development.
Leaving scapes on 3-4 of the plants provides an indicator of when the garlic is ready to harvest. Unlike it’s cousin the onion which dies back when it’s ready to harvest, garlic is ready to harvest when the curly scapes have straightened out.
When harvested early, the scapes make a wonderfully subtle garlic pesto. Simply chop/grind the scapes with olive oil and a little salt and pepper. Left over garlic scape pesto can be frozen for future use.
Harvesting
As the summer progresses- garlic is one of the earlier plants to
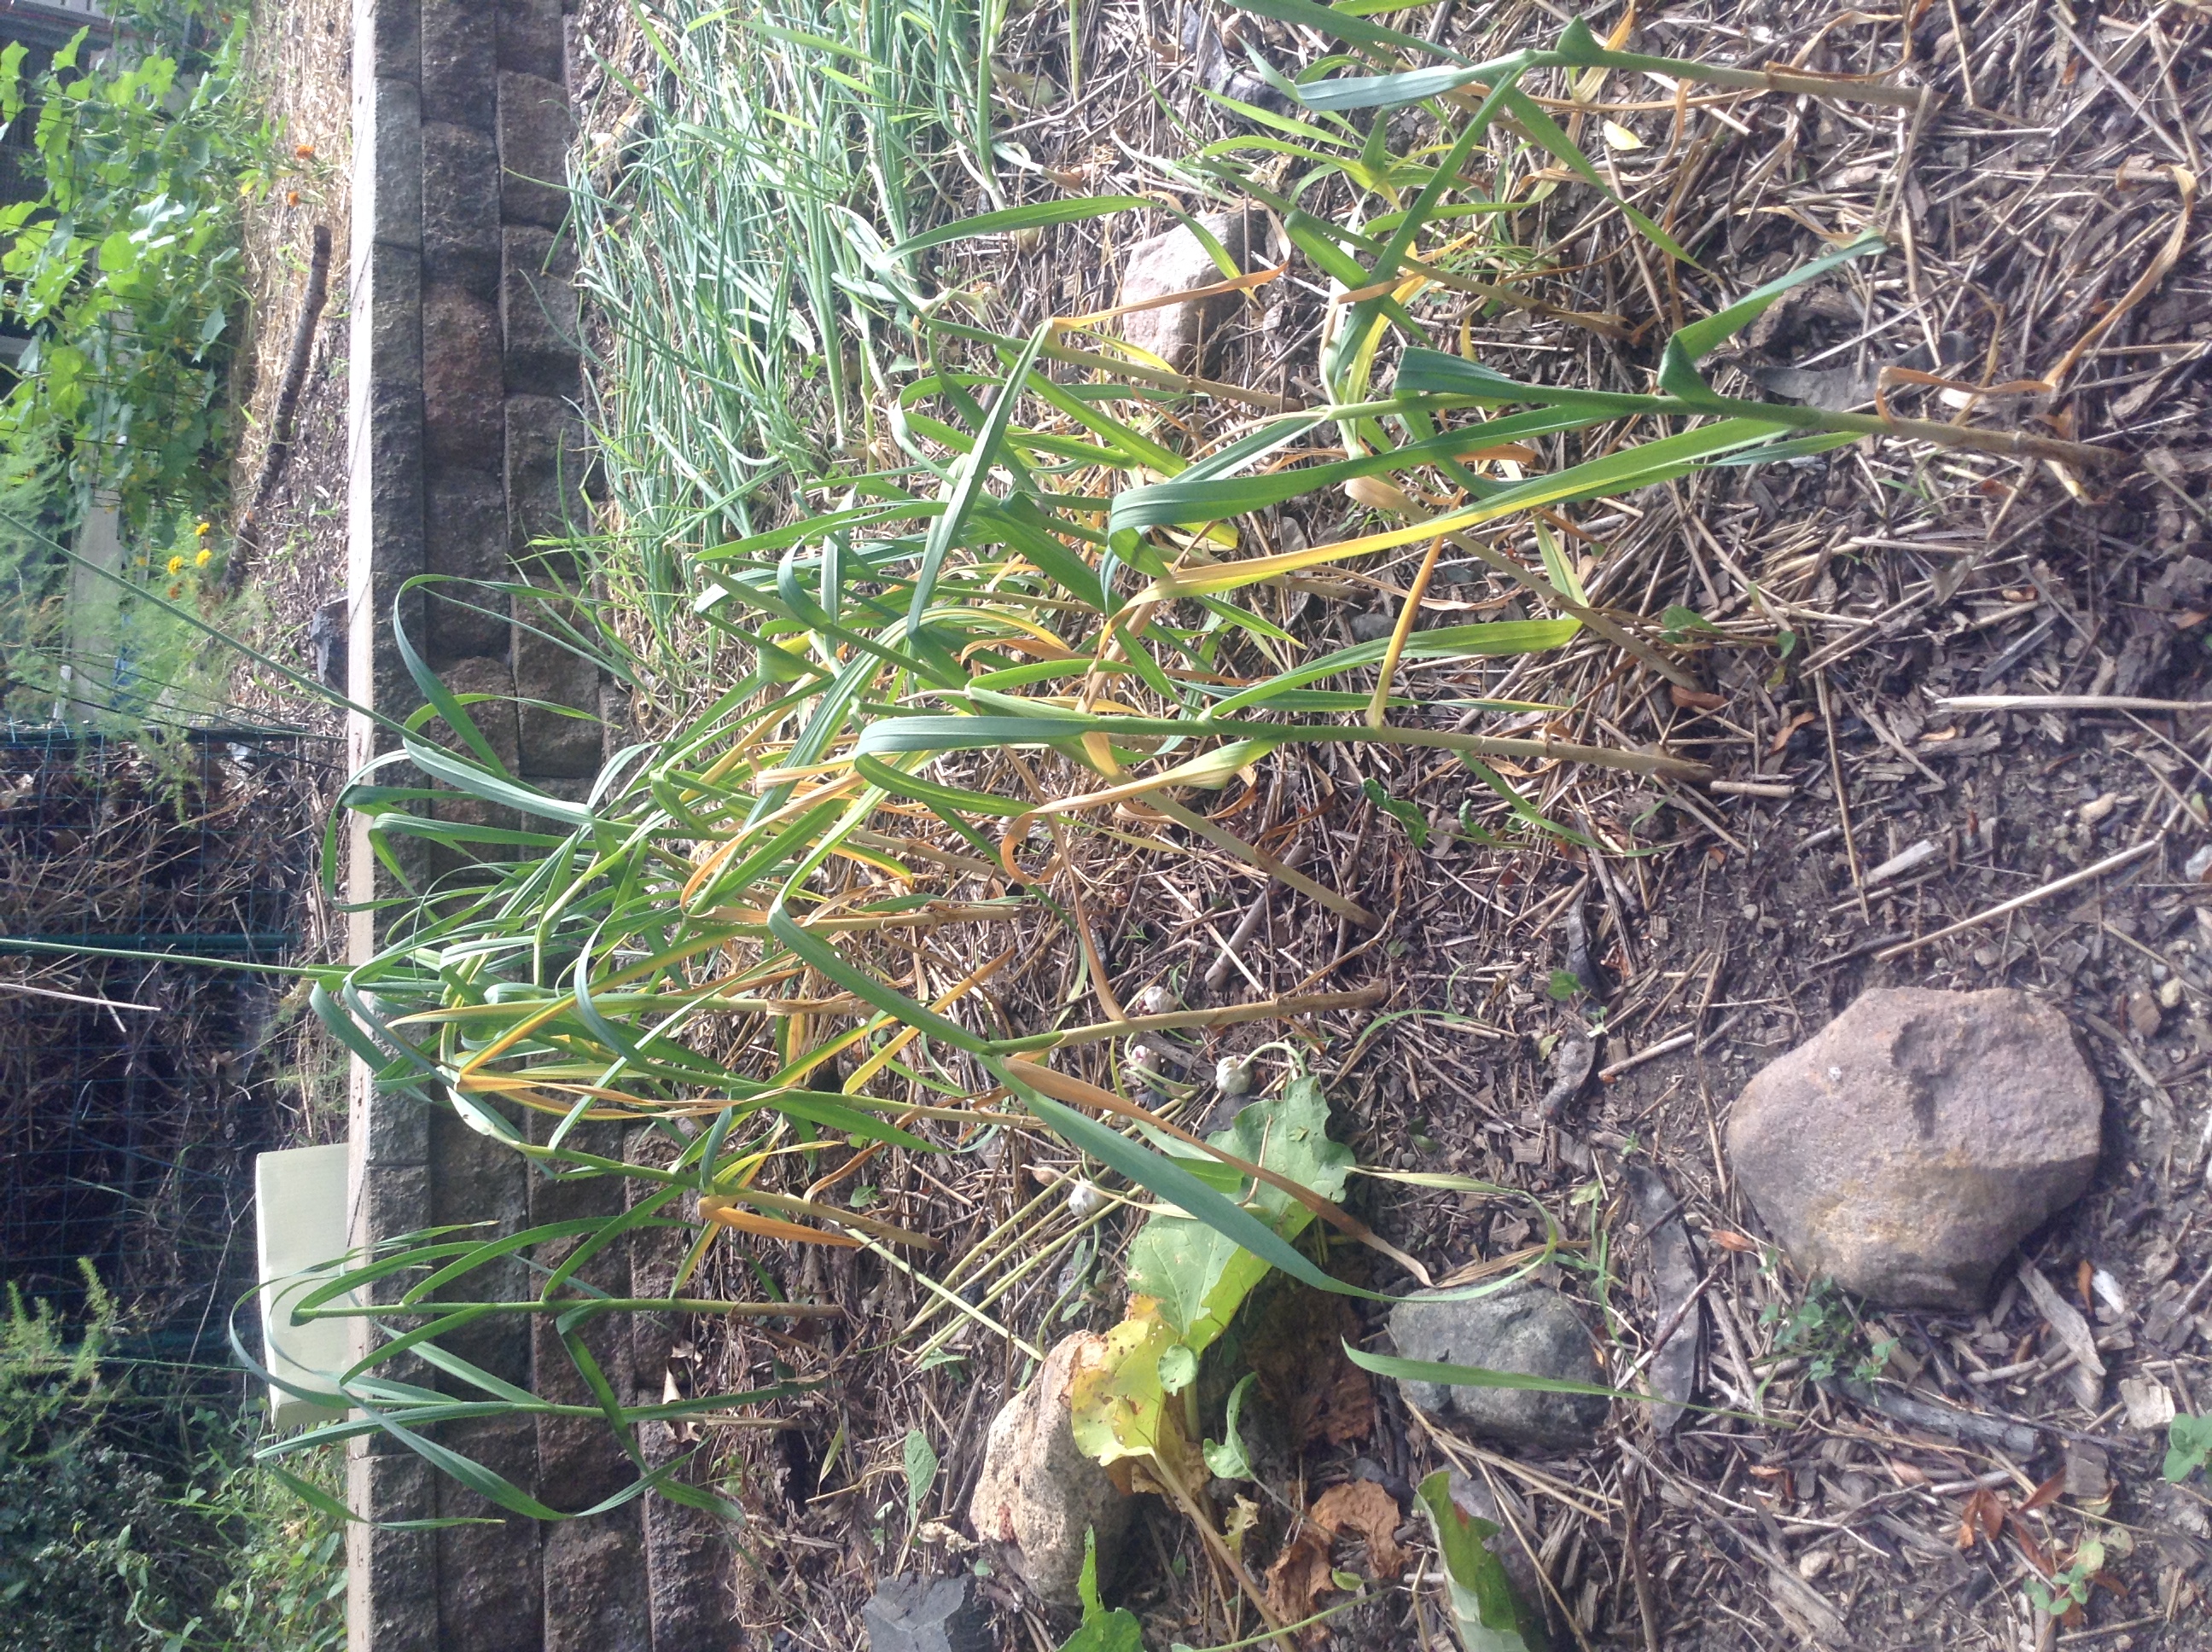
harvest. Our scapes had straightened in early July and we ended up harvesting by mid-July.
Harvesting garlic is a quick and simple process- if the soil is loose you can pull the garlic straight out. If the soil is hard and compacted, loosen the soil around the cloves with a garden fork or spade first.
Curing
After garlic is harvested, it needs to cure. Curing consists of brushing off any loose soil remaining, being careful to not disturb the outer layers of the garlic, and letting the heads dry.
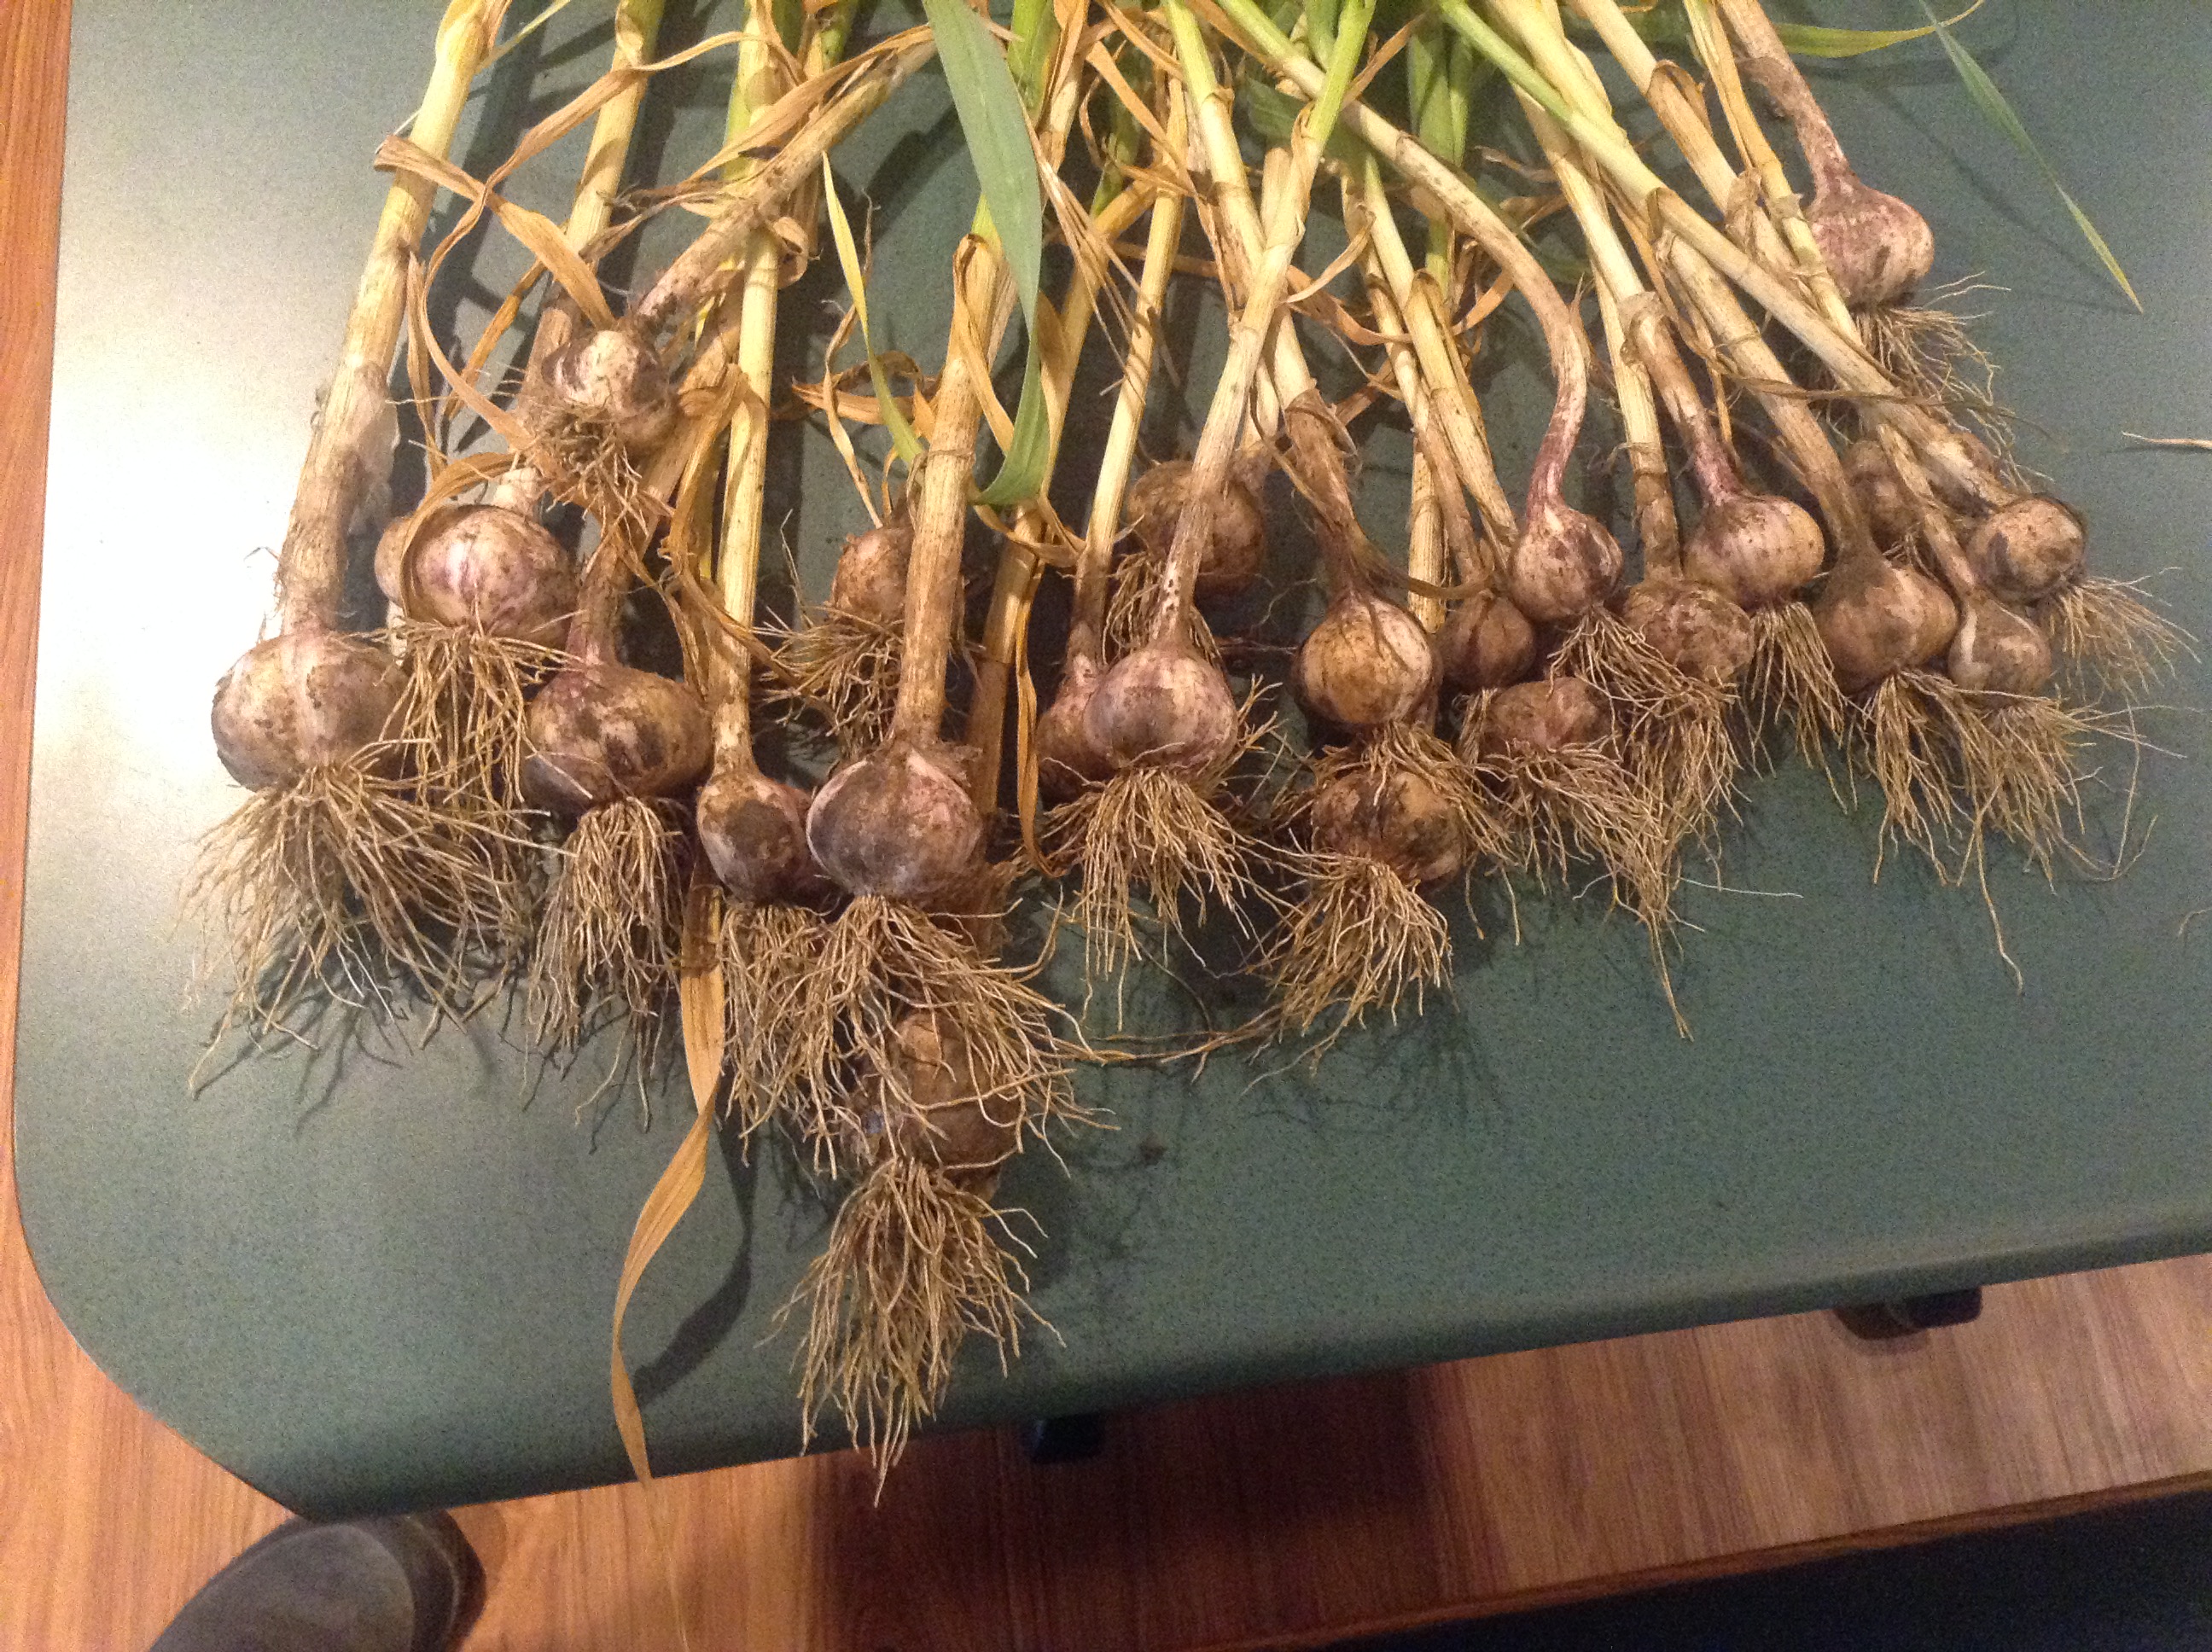
Set the garlic in a shady, well ventilated area to air-dry. As it dries any remaining soil will dry up and the outer layers will begin to dry and become crumbly. The stem and leaves will also become softer. Curing usually take one to two week. I like to turn my garlic daily, so the bulbs cure quicker and more consistently.
Storing your harvest
The simplest way to store garlic is to trim the roots and stems/leaves about 1-2 inches above the bulb. If trimming the garlic should be cured (dried) to the point where one or two layers of skin crumble off when rubbing the garlic with your fingers.
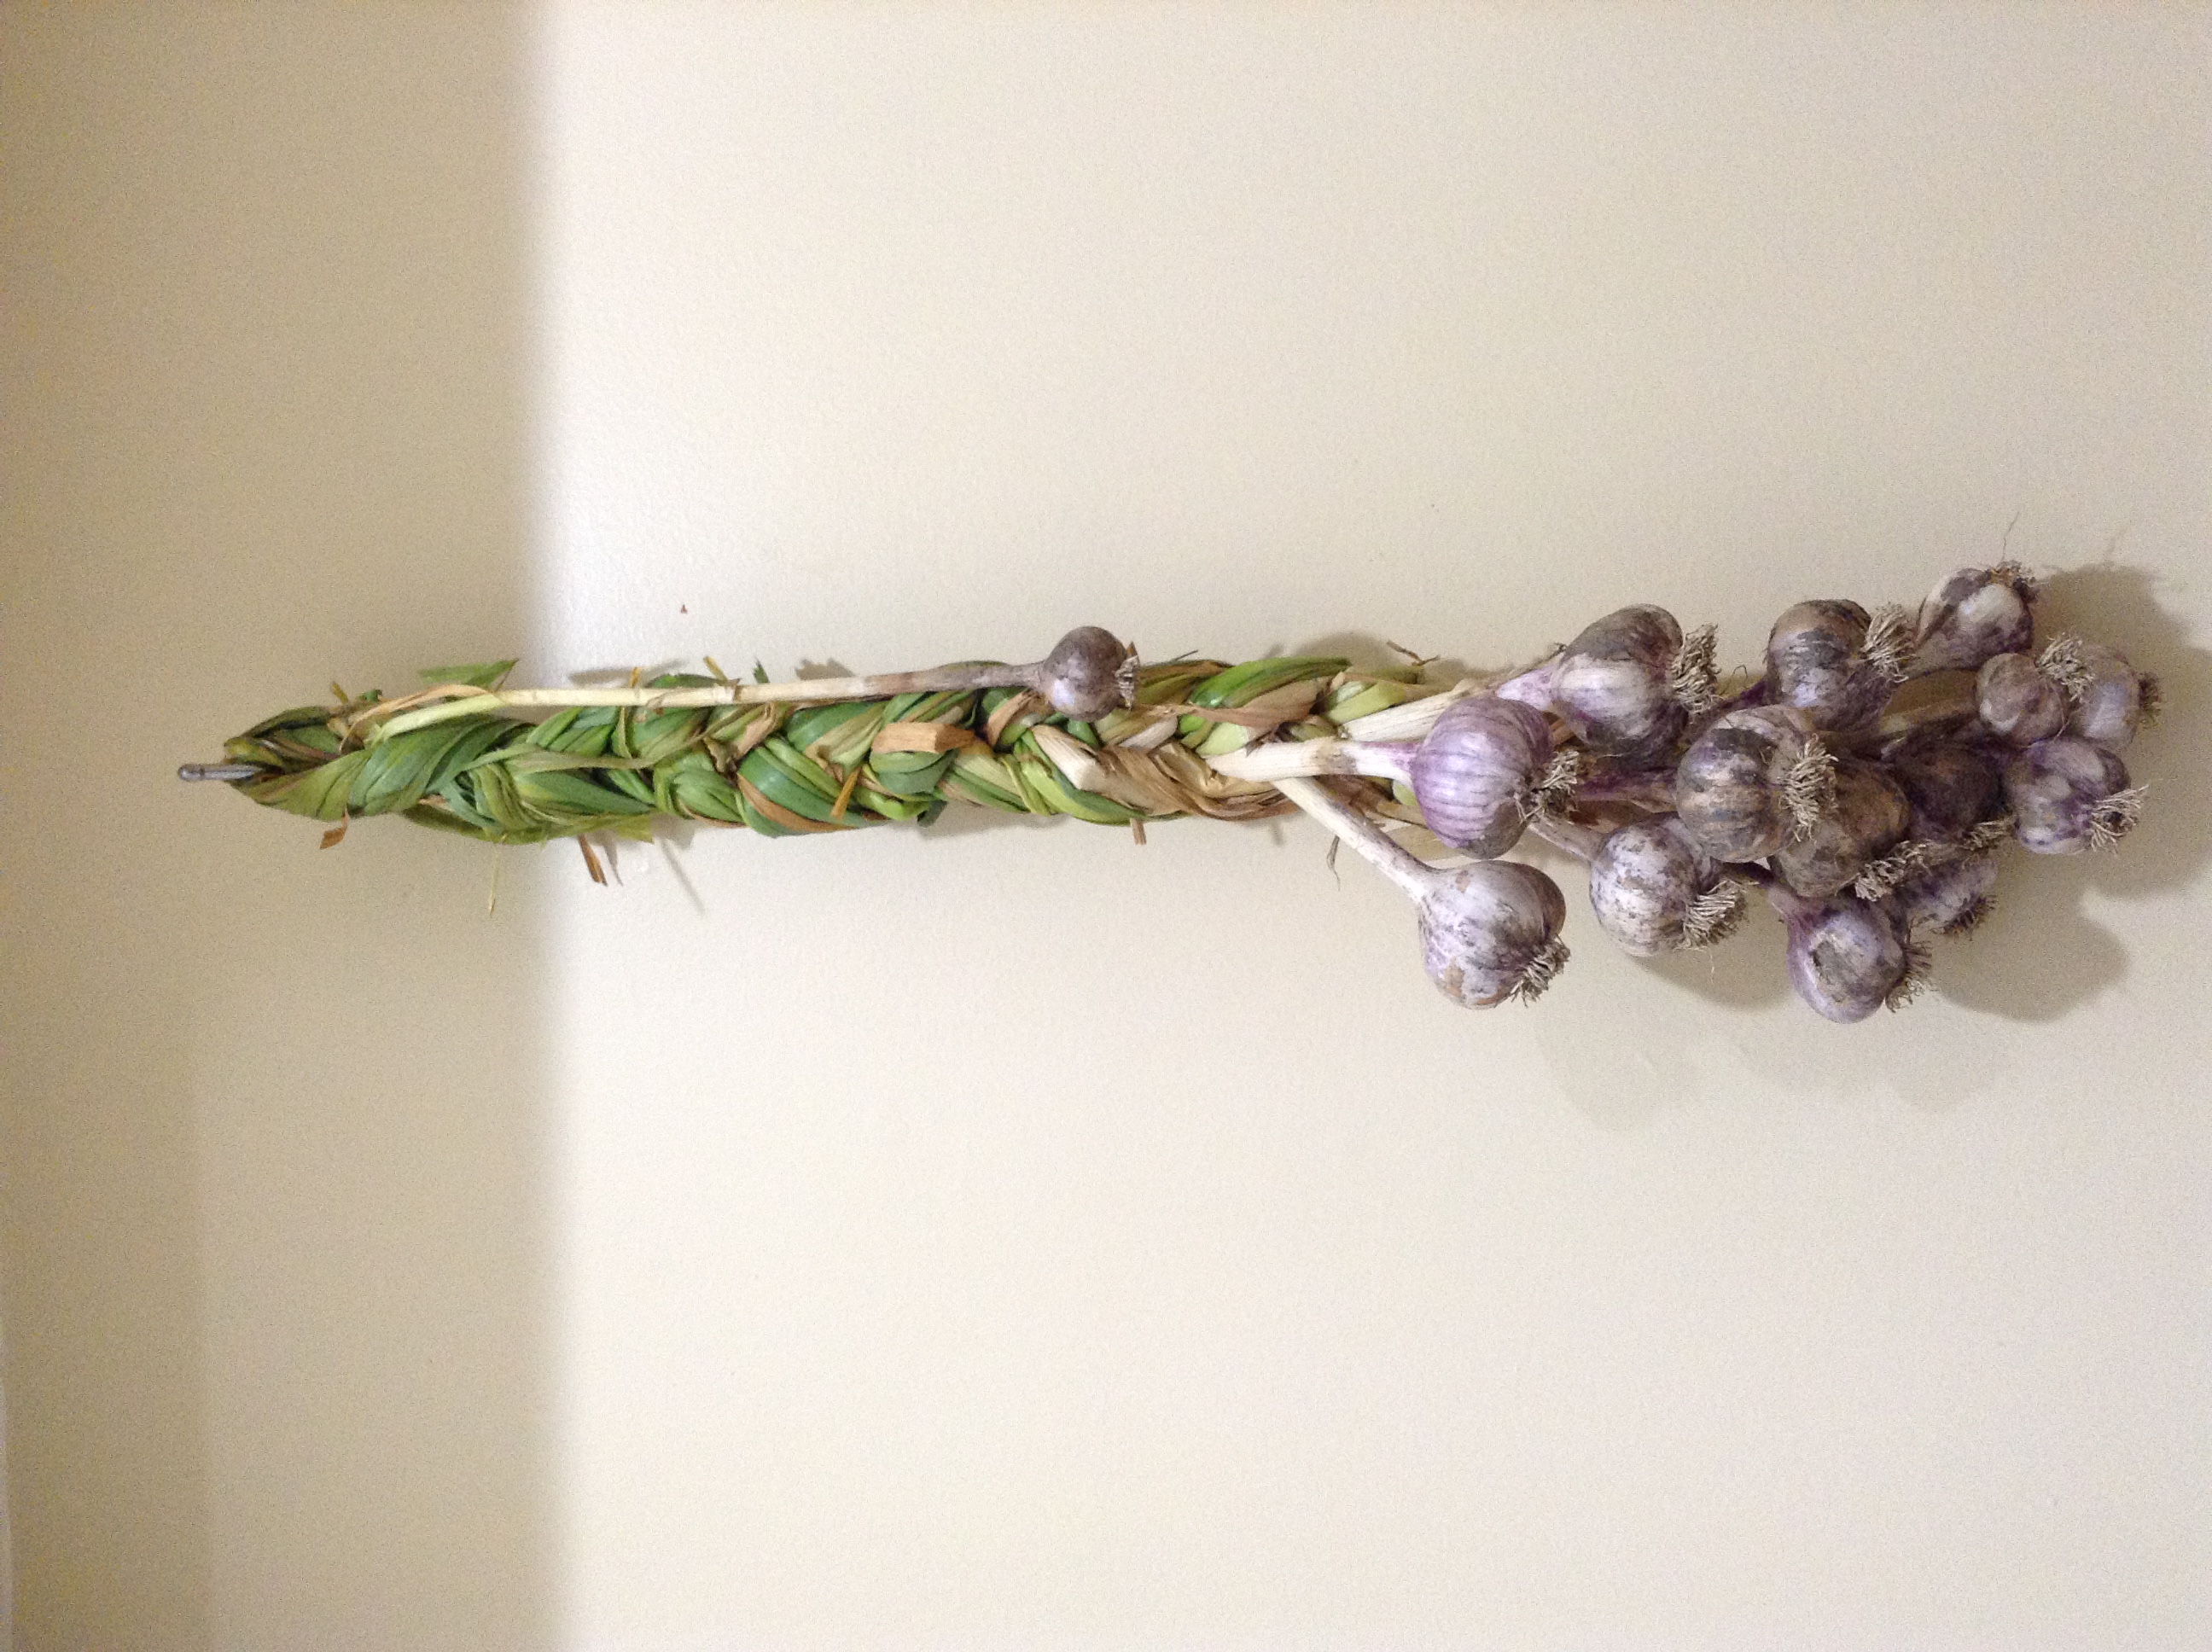
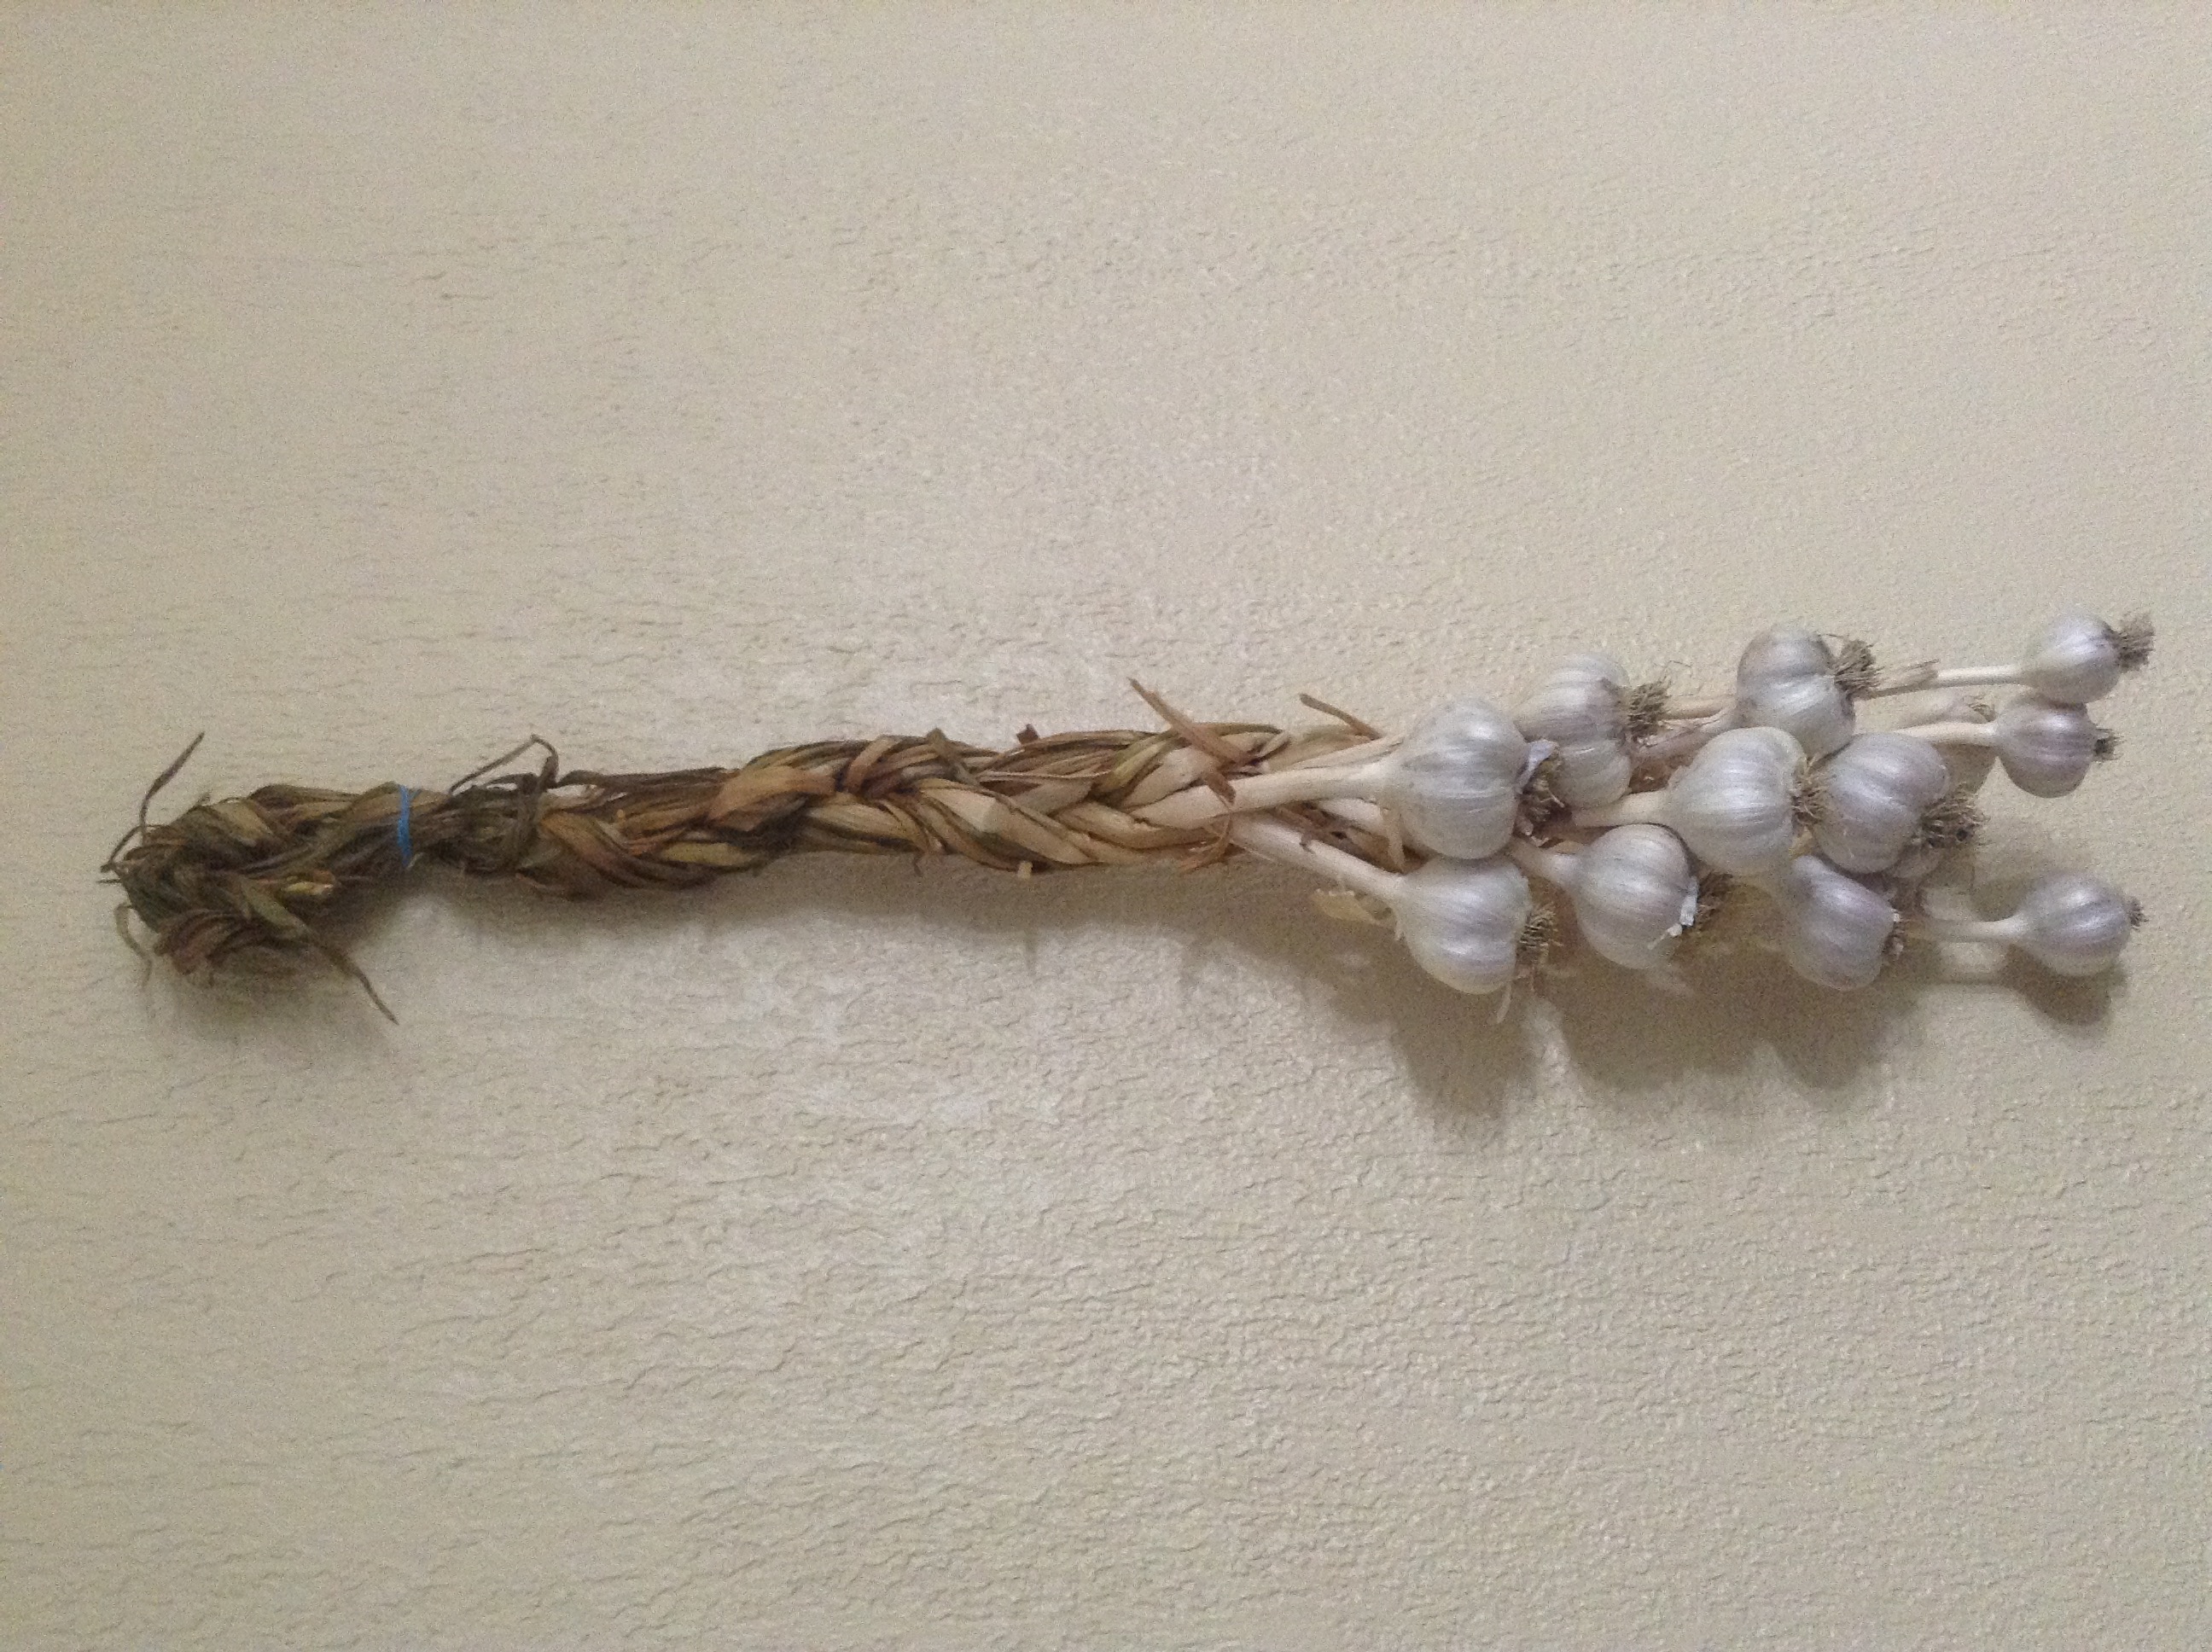
An alternative to trimming is to braid your garlic. The best time to braid garlic is when the leaves and stems have softened and are beginning to turn brown, but are not yet dry and crumbly.
Braided garlic should be hung out of direct sunlight in a cool, dry location, so it can continue curing. After a week or two any loose dirt and couple layers of skin can easily be removed by rubbing each garlic head in your fingers.
Which ever storage option you choose, be sure to set aside the largest and most vigorous heads to plant for next year.
If you have never had fresh homegrown garlic you have been missing out on a real treat! Plant some this fall and you’ll thank yourself next summer.
Enjoy,
Steve.


