
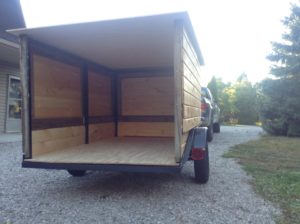
With the siding on it was finally time to get a floor down (over the metal grating) and some type of roof overhead.
When I acquired the trailer, it had an old, weather-worn, de-laminating plywood floor and no roof or doors. This trailer’s original lives were undoubtedly those of pure utility! Based on the dozens of assorted rusty nails, paint stains, and other bits of scrap and debris under the old flooring and tucked between the old walls and frame, it appears to have served duty as a landscape trailer, maybe a roofer’s trailer- for hauling old torn-off roofing shingles, and some type of painter’s trailer- based on the globs of dried paint in the outline of paint cans and 5 gallon buckets.
I always had the intention of enclosing the trailer but wanted to retain the option of removing the roof, in case I ever want to use it to haul taller things.
The Floor
For the flooring and roof sheeting, I decided to go with an exterior grade plywood instead of OSB. I briefly considered the OSB particle board to save some weight and money, but decided on the heavier more durable plywood for several reasons, the primary being that our gear would be dragged and pushed around inside and I didn’t want any of the OSB pieces snagging on anything or flaking off inadvertently. I also didn’t want to worry about any moisture from the road-side degrading it over time.
After cutting the plywood panels to size (using one full 4x8ft sheet and just under another additional 1/2 sheet), I meticulously drilled pilot holes and screwed the new plywood flooring to the metal frame.
Learning an important lesson during disassembly by having to remove 100’s of rusty screws many of which whose threads have rusted away essentially turning them into useless loose fitting nails, I opted to spend the extra money and use stainless metal screws to attach the flooring.
I considered painting the bottom of the floor, but opted to leave it as-is. I figured that if it got wet, or if water got in from the top, it could still air dry. The only moisture exposure would be when on the road, which should be minimal and will dry. I am more concerned about trapped moisture than the rare exposure to road spray. The trailer will be stored indoors and will most likely never see winter driving conditions, so this is a risk I’m willing to take. worst case, I could always spray the underside with an undercoat/rubber coating, if needed.
The Roof
The desire to have a removable, but securely attached and weather-proof, roof introduced several challenges.
If I was to make one large roof piece it would be extremely heavy and hard to remove/reinstall. If I made it in sections I would have to deal with re-weather proofing it every time I reinstalled it.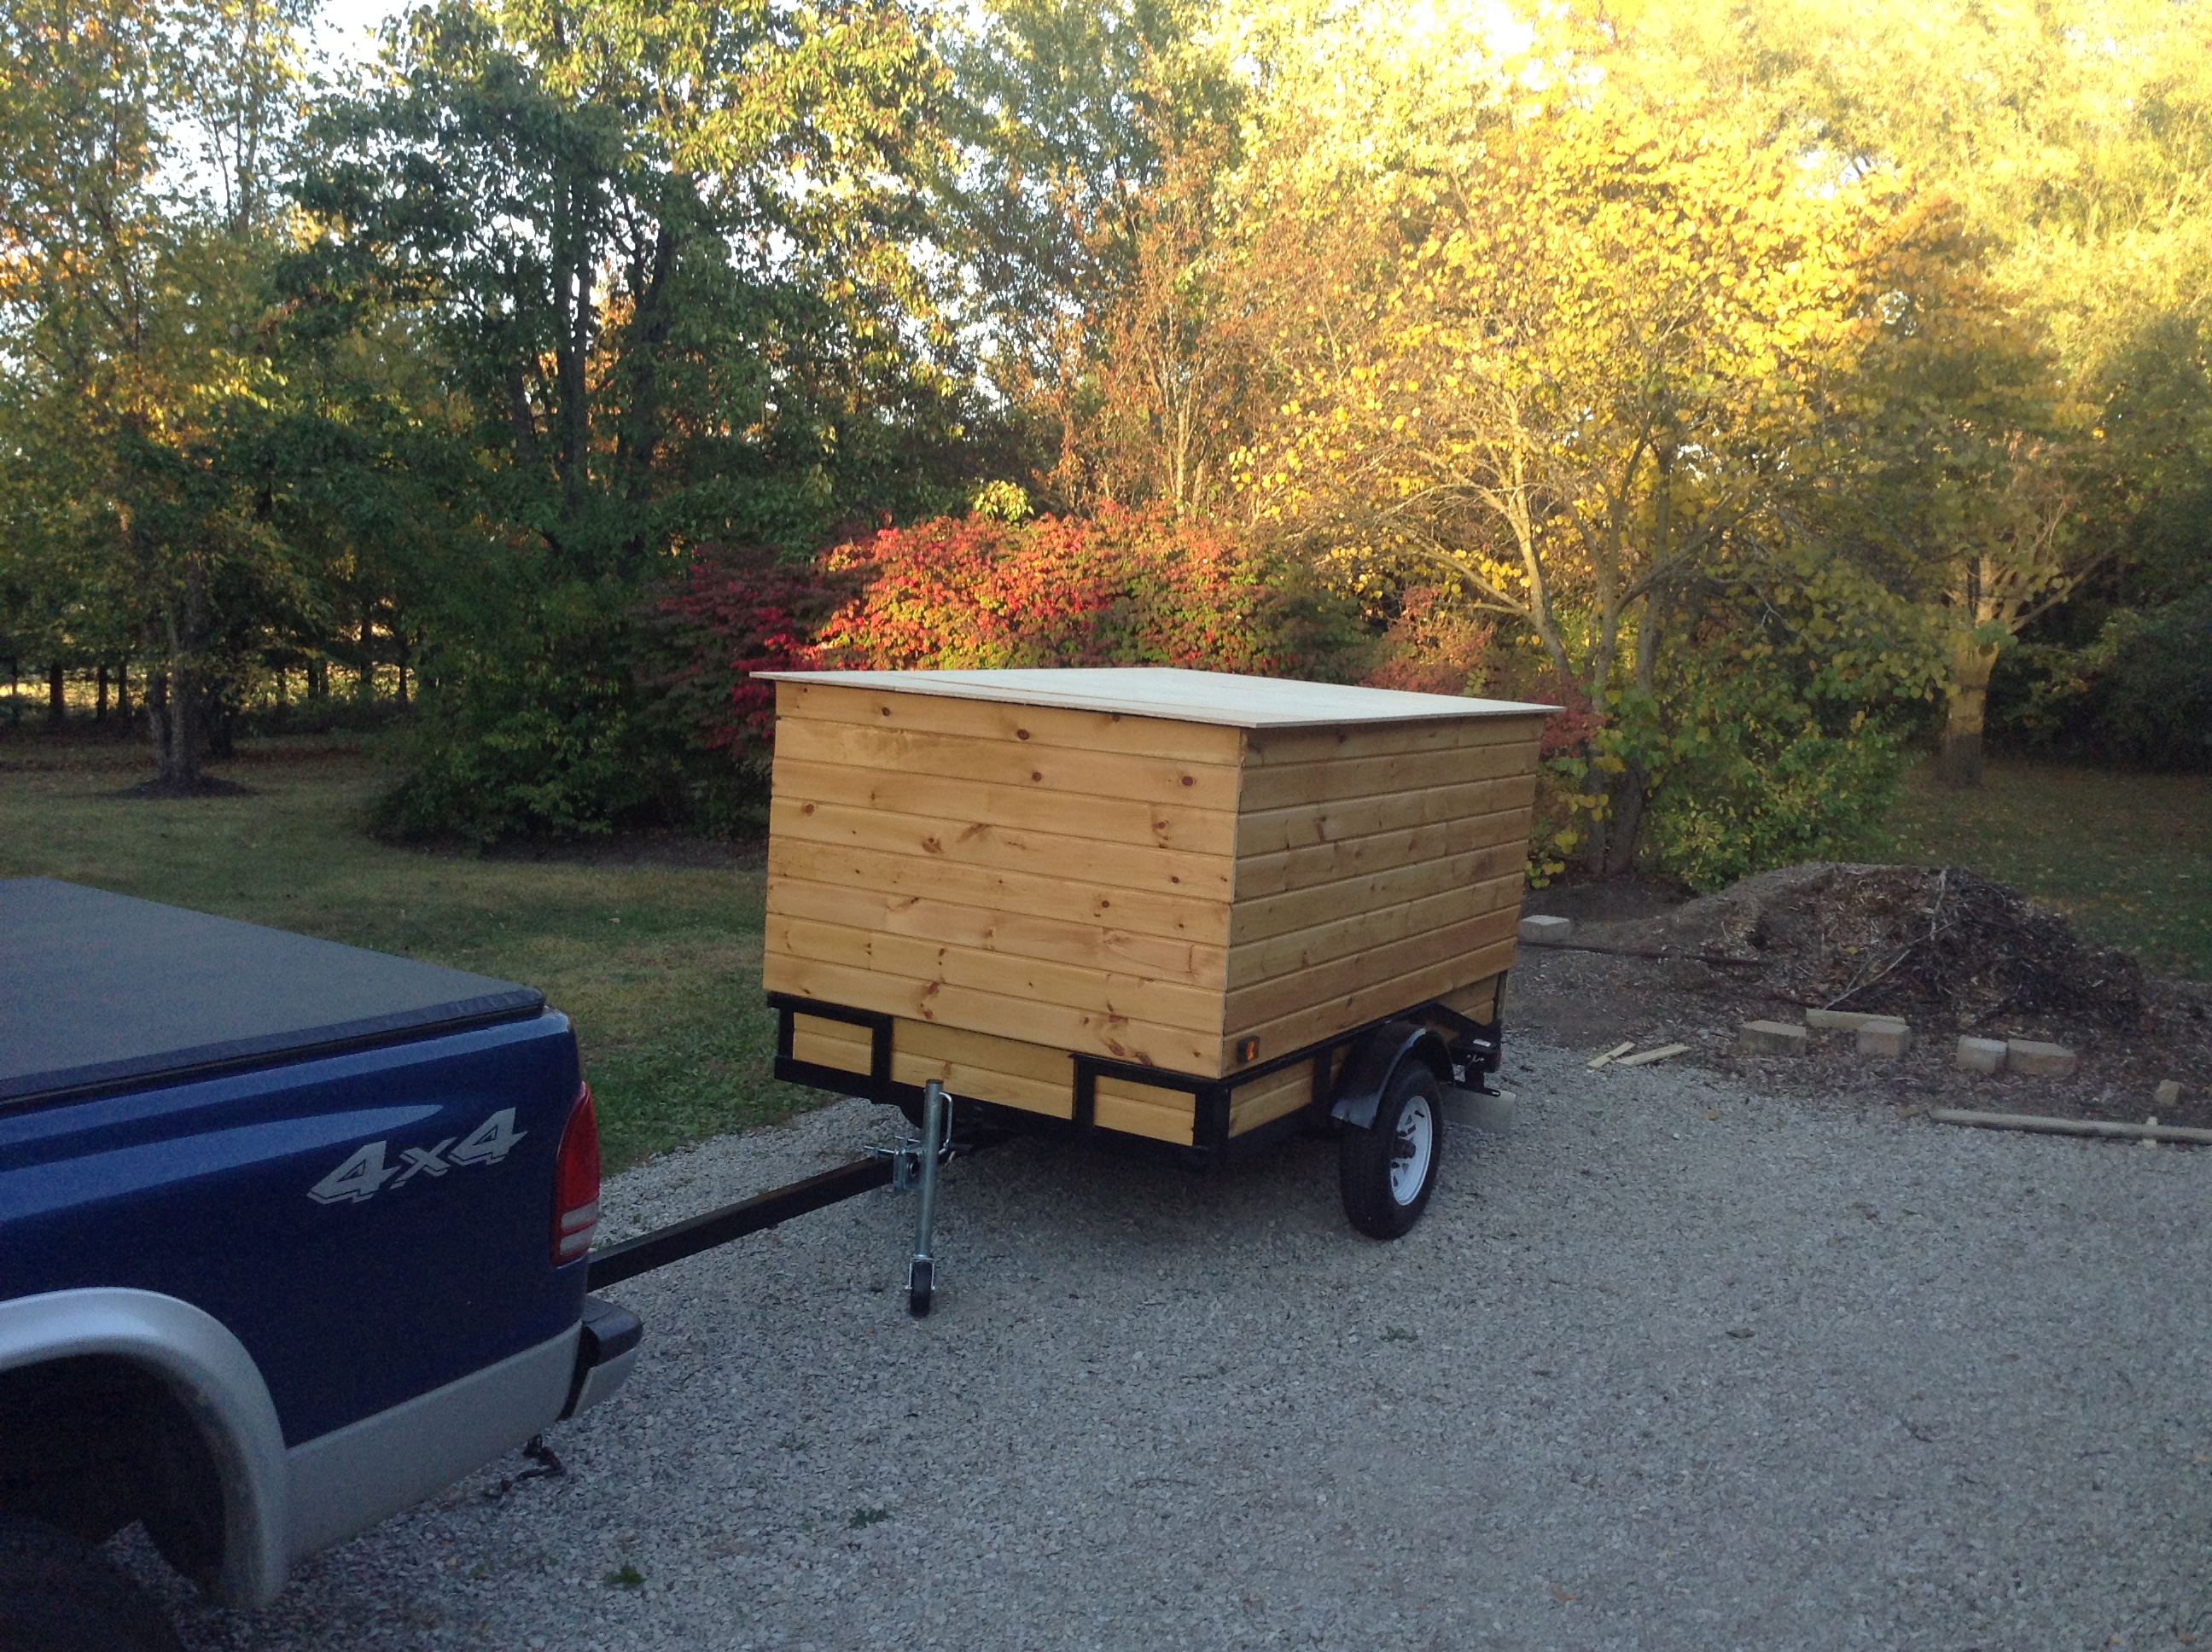
I figured however designed it would have to withstand the wind when driving at highway speeds (and not go blowing off like a sail), retain it’s weatherproof-ness, and be easy and relatively light-weight enough for one person to remove and replace.
I ultimately decided on using the same heavy, external grade plywood for the roof. The thick plywood could withstand it’s own spanned weight (oriented side-to-side, instead of front-to-back, opposite of the floor), constructed in 3 sections. Each section was screwed to the side wall framing using a set of wooden cleats- screwed into the roof and into the side walls. Each section was then secured to each other using another piece of wood, screwed into each roof section from the bottom. This provided many points of contact with both the frame, and essentially creating a single roof panel that could be disassembled and removed if the need arises. Any disassembly, if needed, would occur from inside the trailer, so the weather tight roofing would have no exposed screws, significantly reducing the risk of leaks.
Weatherproofing the Roof
I considered using steel roofing/barn siding for the roofing material, but due to a time constraint (an upcoming camping trip we had scheduled), I opted to use a self-adhesive coated roll roofing. This rubbery super-adhesive roofing is often used on mobile homes and is designed for low-grade roofs. The white color, while not as visually appealing as steel barn siding, helps deflect a lot of heat, helping the trailer stay much cooler inside. (I tell myself it’s only temporary, but we shall see how that works.)
When disassembling, I could cut the soft roofing along the seams with a utility knife. After re-installing it I could just cover the seams with another strip of the same material- making it weather proof in seconds.
Now we have a weather tight trailer, next step will be some doors for the back and we’re ready to get hauling! Stay tuned for the next post- coming soon, or subscribe and we’ll notify you when it’s ready published (spam free, of course)-
|


